

Hello Friends,
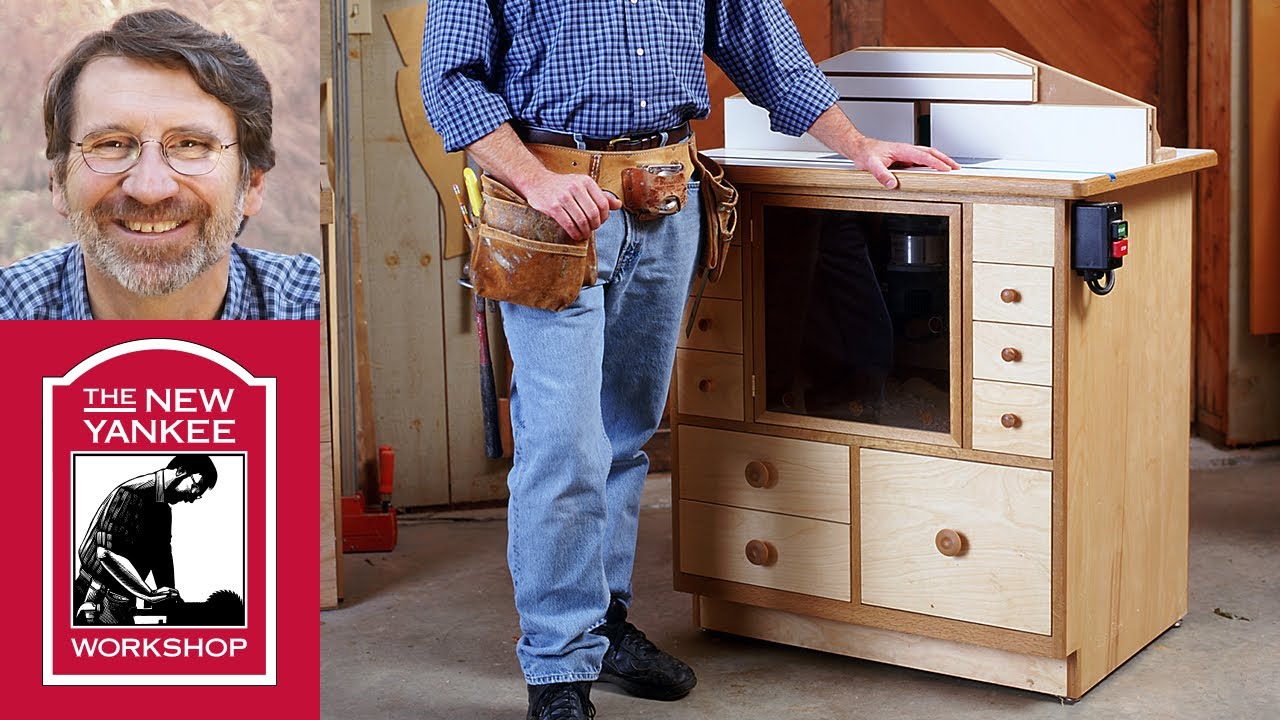
I'm thinking of building a cabinet for my Ryobi router table. Right now it is quite heavy for me to move around. So putting it on my workbench is almost impossible. Additionally, it raises the height too much.
My idea is to build a cabinet and mount the top from the Ryobi table directly after removing the stock legs. I will also be adding casters to the cabinet so it can roll around easily.
Can you please share any ideas/pictures for your router cabinet builds (Ryobi or not) and any tips/suggestions you may have.
Thanks in advance.
- NG
Attached Files
 LCHIEN
 Loring in Katy, TX USA
 . And then the back injury hit me so never got down to using it yet. Among many upgrades this kit will provide me (eventually when I get to use it), one that is sought after the most, from a table mounted perspective, is an ability to adjust height from the top of the table. I will still need to drill a hole in the plate, but the router came with a hex T wrench that allows this operation. Also, on this router the motor comes off easily without struggling to remove the whole assembly in case I need to change the bit.
 twistsol
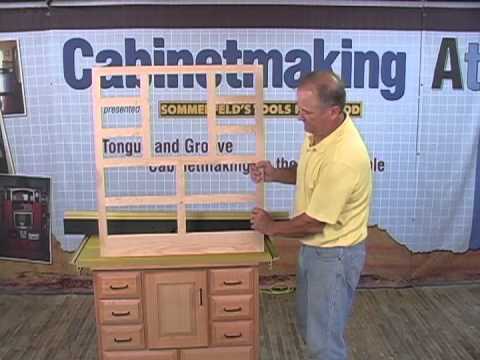

 .
.
Comment