

Loring (LCHIEN)s post recently regarding how he hung his Harbor Freight self retracting air hose reel solo, got me to thinking, it really shouldn't be difficult, but you know sometimes should and are can be totally different...
Well, Loring's install, tripping all over my existing hoses when trying to run the hose out to the driveway, and a Harbor Freight coupon for the reel in question pushed my motivation to 100%, and I grabbed a reel for myself.
After much consideration and an attempt to gang 2 compressors together that isn't fully abandoned yet, I have decided to at least temporarily borrow the 8' hose that was attaching the 2nd compressor to the system, and remove the tee that connected them all. I went instead with a single compressor connection.
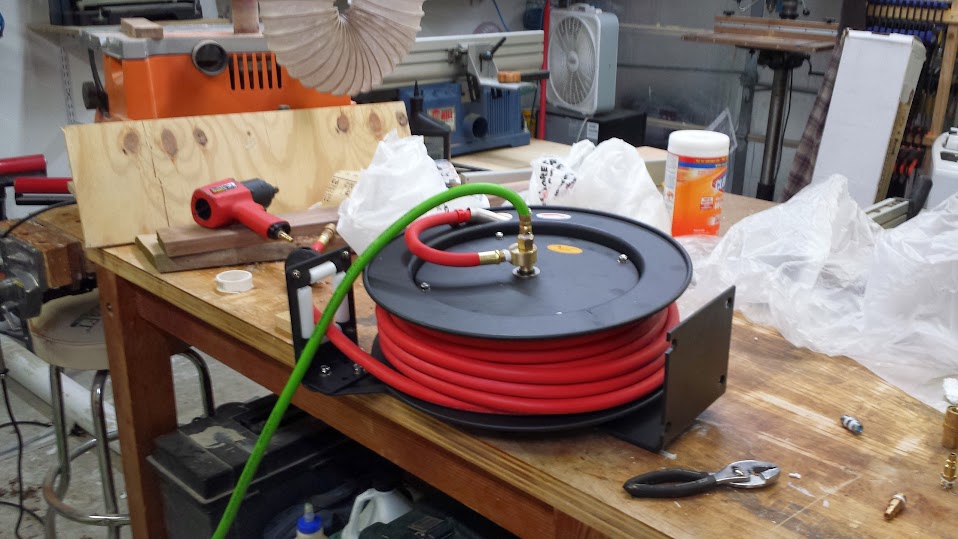
So the first thing I had to do was fab up a simple mount board. I centered the reel on the board, marked the location of the holes for the mounting bolts, measured off where the holes for the lag bolts to hold this up on the 16" OC studs that my house should have, and got to drilling. I countersunk the back side of the mounting bolt holes so that the heads for the carriage bolts don't sit proud of the mounting board.
For mounting hardware I used 1/2" x 2" nickel plated steel carriage bolts, plain washers and nuts. I left the washers and nuts on the bolts that the slotted holes would be in (the front of the reel in my case), and went to hanging the mount board.
I found the first stud, approcimated the center, drilled my first pilot hole, and ran the first bolt, I squared up the mount board in relation to the walls, and drilled the pilot for and ran the second bolt, Then I drilled for the first of the bolts in where the second stud should be...
Problem.
It appears the truss members / studs whatever you want to call them, for my roof / ceilings are NOT 16" OC like I expected, but rather, 19" OC that I verified with a tape measure after cleanly missing the wood by a couple of inches.
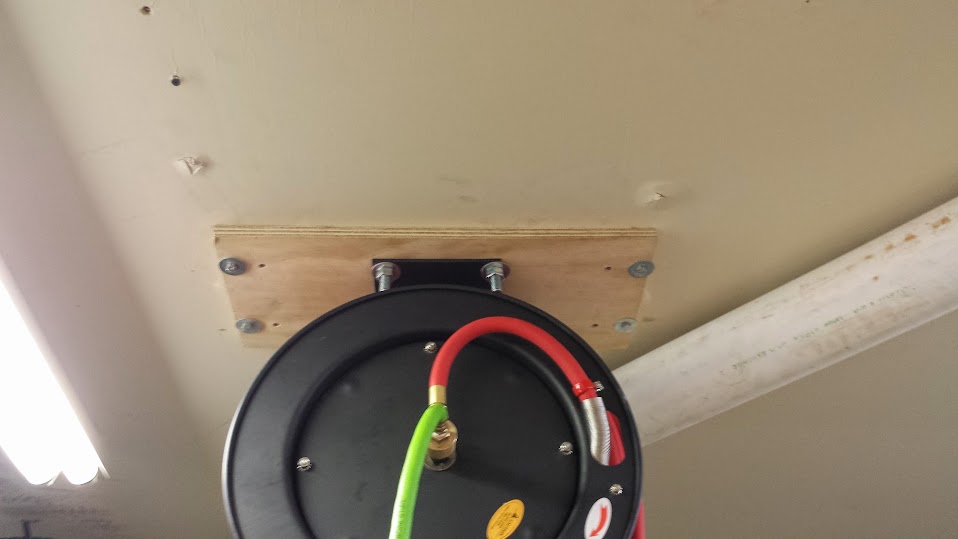
So I had to transfer my measurements, and move the lag bolt holes closer to the ends, so that they are 19" between, and then remounted it all up...
So now I have a nice mount board, pulled up nice and flush against ceiling drywall that HAD been sagging off of the trusses. Yeah that needs to get fixed, but I digress... so the mount board is there, and nice and tight.
I was fearing from LCHIEN's description, having trouble getting this up there, but installation of the reel itself couldn't have been easier. It went thus...
#1. With the mount board installed, and the 2 front washers / nuts on but run almost to the falling off point, maybe 3 threads run in, I placed the other 2 nuts and washers on top of the ladder.
#2. After hauling the reel up the ladder, I grabbed the reel by the frame, not the spool part, and slid the slotted holes over the washers / nuts / bolts, then rotated it such that the full holes slid over the other 2 bolts.
#3. with my shoulder, I simply kept pressure on the front of the reel keeping it up against the board, keeping it on the bolts.
#4. I then put the outside washer and nut on so that I had 3 supports. I ran those 3 nuts in finger tight.
#5. I then added the 4th washer and nut, ran it finger tight.
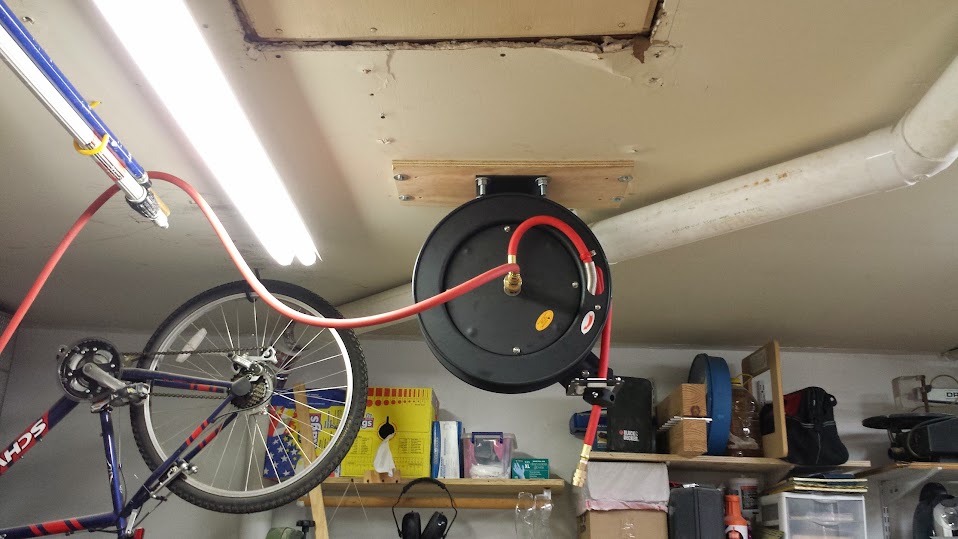
#6. I then snugged all 4 mount bolts up tight with a combination wrench.

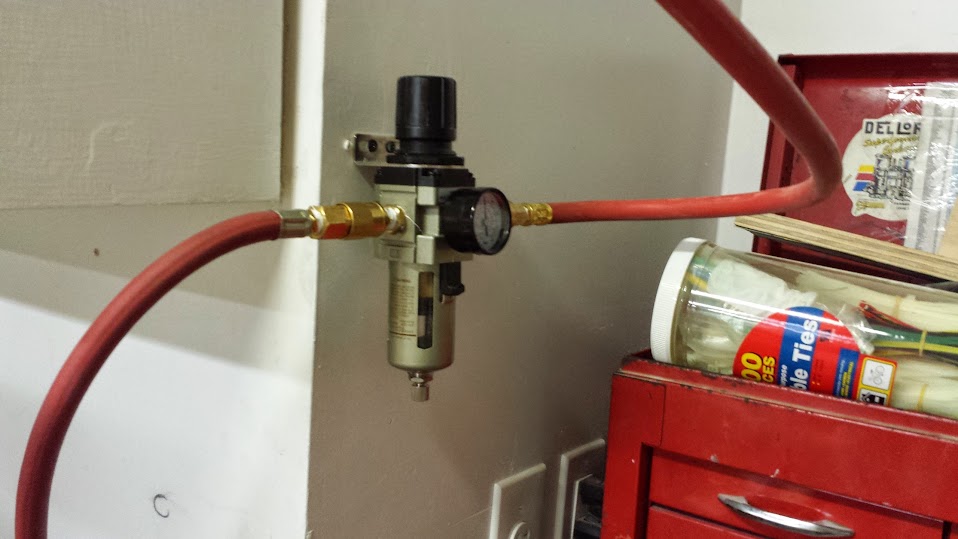
#7. Lastly, I changed out my plumbing. 50' blend hose is gone, in its place is the 8' rubber hose, connected via quick connectors, threads sealed off with plumbers tape. And only the 3' whip from the 29 gallon compressor is feeding the regulator / hose / hose reel.
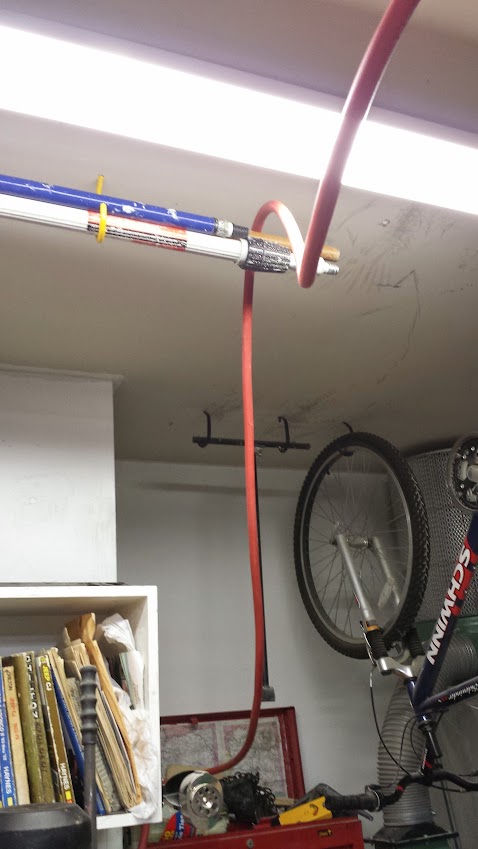
I have plenty of hose with that 8' hose, I need to make some final changes that include changing the mounting config of my shop light from direct ceiling mount to chain mount. Which means i need to find the chain for this... And I need to come up with some sort of clamps to secure the hose to the wall and ceiling.
While I had considered the keyhole slot approach, I found that I really didn't need to go to that much effort.
If you are considering adding one of these to help manage your air hose, and are concerned about one man installation, don't be, it was far easier than I had originally thought, the weight / ackwardness of the reel as it was being installed was really quite easily manageable even for someone with back problems.
Well, Loring's install, tripping all over my existing hoses when trying to run the hose out to the driveway, and a Harbor Freight coupon for the reel in question pushed my motivation to 100%, and I grabbed a reel for myself.
After much consideration and an attempt to gang 2 compressors together that isn't fully abandoned yet, I have decided to at least temporarily borrow the 8' hose that was attaching the 2nd compressor to the system, and remove the tee that connected them all. I went instead with a single compressor connection.
So the first thing I had to do was fab up a simple mount board. I centered the reel on the board, marked the location of the holes for the mounting bolts, measured off where the holes for the lag bolts to hold this up on the 16" OC studs that my house should have, and got to drilling. I countersunk the back side of the mounting bolt holes so that the heads for the carriage bolts don't sit proud of the mounting board.
For mounting hardware I used 1/2" x 2" nickel plated steel carriage bolts, plain washers and nuts. I left the washers and nuts on the bolts that the slotted holes would be in (the front of the reel in my case), and went to hanging the mount board.
I found the first stud, approcimated the center, drilled my first pilot hole, and ran the first bolt, I squared up the mount board in relation to the walls, and drilled the pilot for and ran the second bolt, Then I drilled for the first of the bolts in where the second stud should be...
Problem.
It appears the truss members / studs whatever you want to call them, for my roof / ceilings are NOT 16" OC like I expected, but rather, 19" OC that I verified with a tape measure after cleanly missing the wood by a couple of inches.
So I had to transfer my measurements, and move the lag bolt holes closer to the ends, so that they are 19" between, and then remounted it all up...
So now I have a nice mount board, pulled up nice and flush against ceiling drywall that HAD been sagging off of the trusses. Yeah that needs to get fixed, but I digress... so the mount board is there, and nice and tight.
I was fearing from LCHIEN's description, having trouble getting this up there, but installation of the reel itself couldn't have been easier. It went thus...
#1. With the mount board installed, and the 2 front washers / nuts on but run almost to the falling off point, maybe 3 threads run in, I placed the other 2 nuts and washers on top of the ladder.
#2. After hauling the reel up the ladder, I grabbed the reel by the frame, not the spool part, and slid the slotted holes over the washers / nuts / bolts, then rotated it such that the full holes slid over the other 2 bolts.
#3. with my shoulder, I simply kept pressure on the front of the reel keeping it up against the board, keeping it on the bolts.
#4. I then put the outside washer and nut on so that I had 3 supports. I ran those 3 nuts in finger tight.
#5. I then added the 4th washer and nut, ran it finger tight.
#6. I then snugged all 4 mount bolts up tight with a combination wrench.
#7. Lastly, I changed out my plumbing. 50' blend hose is gone, in its place is the 8' rubber hose, connected via quick connectors, threads sealed off with plumbers tape. And only the 3' whip from the 29 gallon compressor is feeding the regulator / hose / hose reel.
I have plenty of hose with that 8' hose, I need to make some final changes that include changing the mounting config of my shop light from direct ceiling mount to chain mount. Which means i need to find the chain for this... And I need to come up with some sort of clamps to secure the hose to the wall and ceiling.
While I had considered the keyhole slot approach, I found that I really didn't need to go to that much effort.
If you are considering adding one of these to help manage your air hose, and are concerned about one man installation, don't be, it was far easier than I had originally thought, the weight / ackwardness of the reel as it was being installed was really quite easily manageable even for someone with back problems.
 LCHIEN
 Loring in Katy, TX USA
Comment