


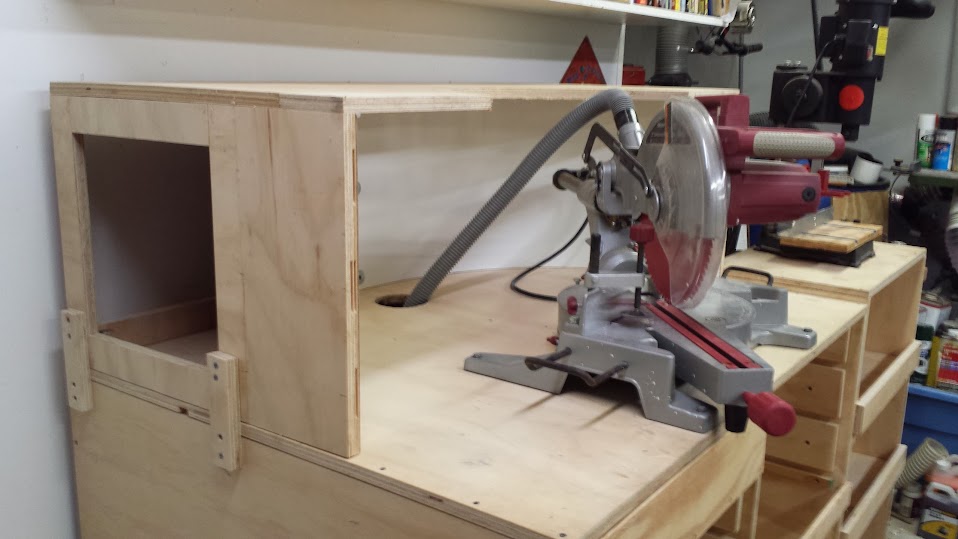
I finally got the SCMS dust hood finished and installed. Just need to finish up the ducting which will probably happen this weekend...
The design is pretty simple, just an open frame held together with pocket screws and glue, a simple top screwed to the frame, and a thin melamine coated hard board curved panel attached with screws and fender washers to the frame.
As you may recall I messed up my measurements, and had to extend it. I didn't want to fully scrap it, so I simply took the biscuit joiner and extended it out. Just took some scrap, cut it to size, joined it with biscuits, and glue, LOTS of glue... Didn't give a care about squeeze out...
The dust hose connection from the saw is adapted to the saw itself using Gorilla tape, and the OE screws, then kept from flapping around with the power cord by using plumbing strap, and again the OE screw from the saw.
I still need to finish the ducting, but once done, I am finished, at least for now, with my dust collection system... FINALLY.

The writeup is on my blogger page,http://daves-workshop.blogspot.com/2...-saw-dust.html
The design is pretty simple, just an open frame held together with pocket screws and glue, a simple top screwed to the frame, and a thin melamine coated hard board curved panel attached with screws and fender washers to the frame.
As you may recall I messed up my measurements, and had to extend it. I didn't want to fully scrap it, so I simply took the biscuit joiner and extended it out. Just took some scrap, cut it to size, joined it with biscuits, and glue, LOTS of glue... Didn't give a care about squeeze out...
The dust hose connection from the saw is adapted to the saw itself using Gorilla tape, and the OE screws, then kept from flapping around with the power cord by using plumbing strap, and again the OE screw from the saw.
I still need to finish the ducting, but once done, I am finished, at least for now, with my dust collection system... FINALLY.
The writeup is on my blogger page,http://daves-workshop.blogspot.com/2...-saw-dust.html


Comment