RyFitz's Shop (Work-in-Progress!)

Collapse
This topic is closed.
X
X
 
  • Time
  • Show
Clear All
new posts
  • RyFitz13
    Established Member
    • Jan 2004
    • 127
    • Terryville, CT, USA.
    • BT3100

    RyFitz's Shop (Work-in-Progress!)

    I began some long-delayed work on my shop area over the weekend. For a little background, my "shop area" is currently a corner of my basement, which itself is made up from a field stone foundation and poured (and not even close to flat/level in many places) slab floor.

    I've got a couple pics of the area in its old state, in the middle of a large painting project (tons of trim and a dutch door). I'll dig it up and get it up here for a true before picture later.

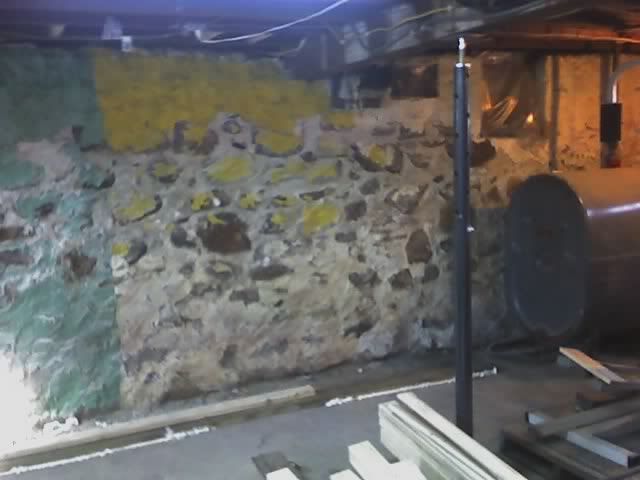
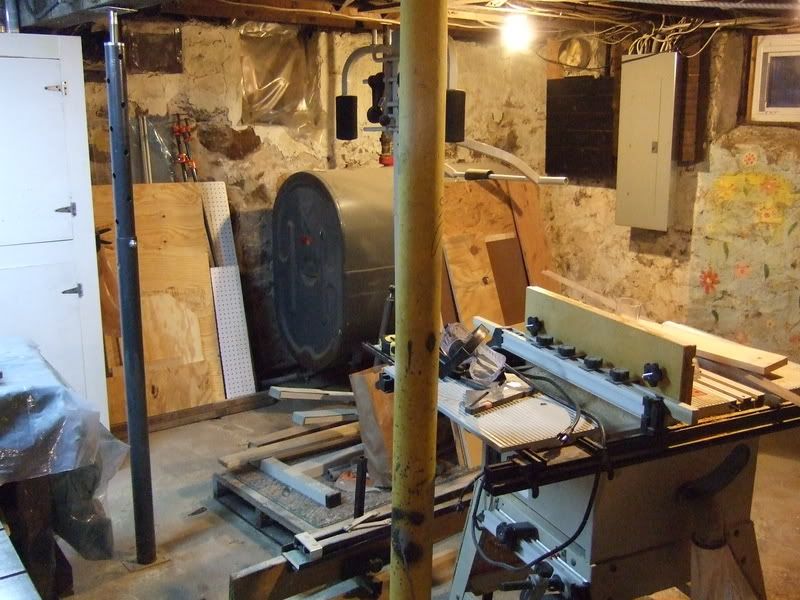
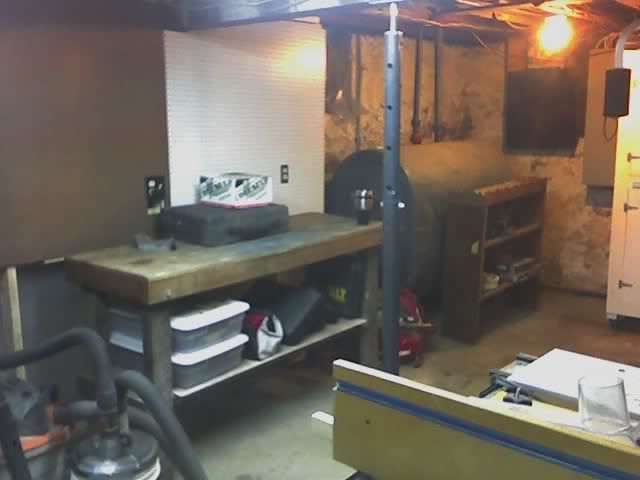
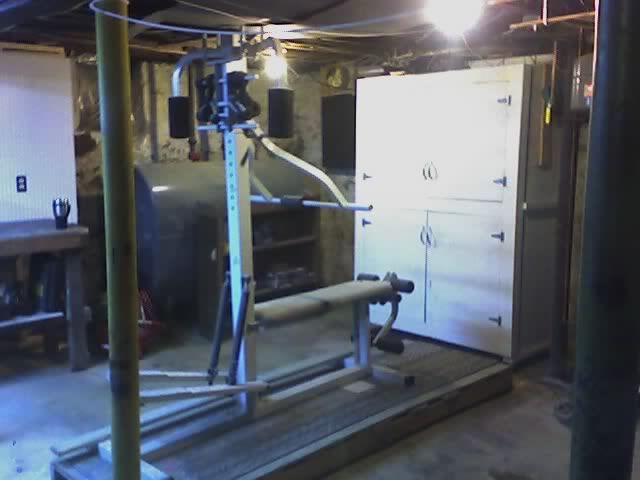
    For now, you can see I'm trying to expand to most of one end of the basement, working around the oil tank and furnace by moving some mobile storage over between the two, trying to keep as much distance between the furnace and any sawdust generation.

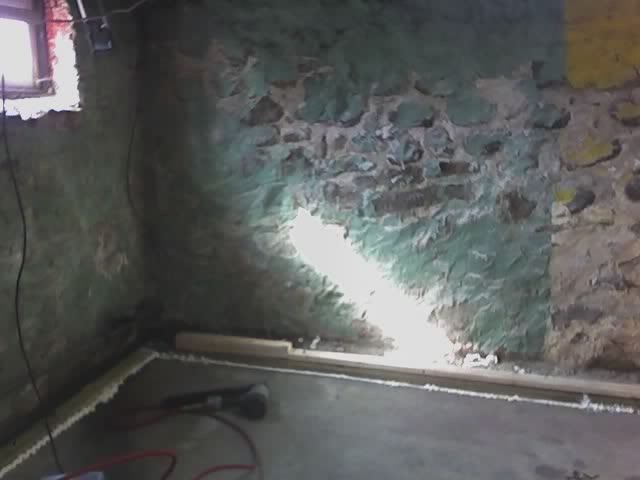
    So far, I'm really early in the process - here's almost my starting state (I had installed the PT sill plates before I took any pictures): (Please forgive the bad pics - LOML is on a cruise with her best friend and our camera, so these were taken with my phone)


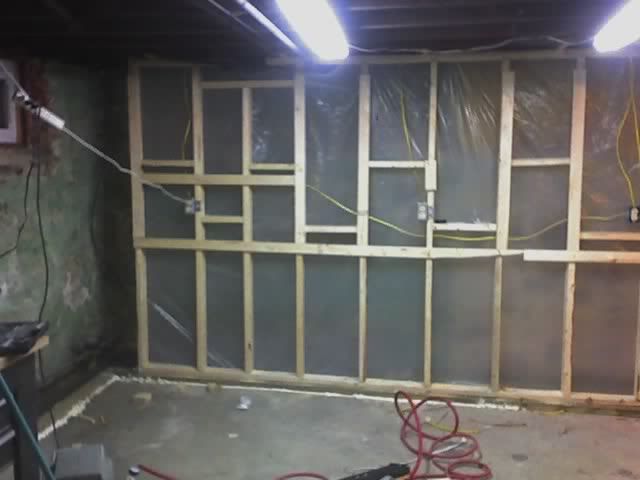
    So, I framed in a false wall a few inches in front of the fieldstone on the main wall. I caulked like crazy, in the hopes that I might create something like a trench for any moisture to flow around the shop, rather than right through the middle.

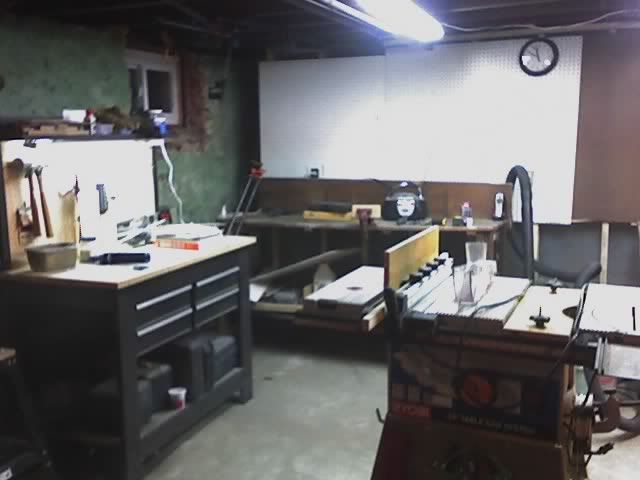
    Yesterday, I framed in the wall (about 15' worth of it), and got the electrical work done. There's 2 circuits for now - one that maintains the lights and a few utility outlets (for my radio, cordless phone charger, battery chargers, etc), and another that so far consists of 3 tool outlets - one in the wall, one in the ceiling directly above where I work my big tools (router table, BT, miter saw), and a third pre-existing one. On the lights, I doubled up my existing light set up and finally hardwired them to a switch. The outlets on the light circuit used to be in the ceiling, which wasn't a problem for me (7' ceilings, I'm 6', not a problem, right?). But I just watched LOML a couple weeks ago (5'3") plugging in the light in order to do some painting, and decided then and there that a convenient switch was a must-have!.

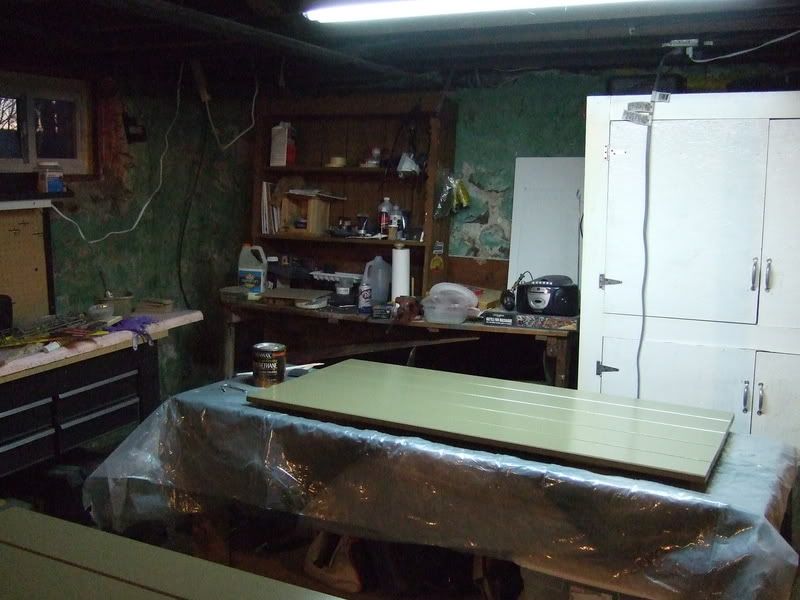
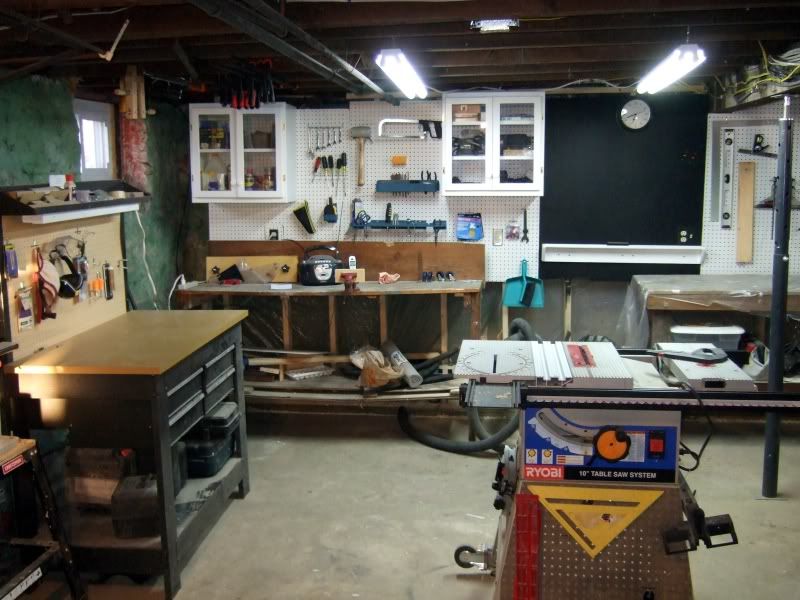
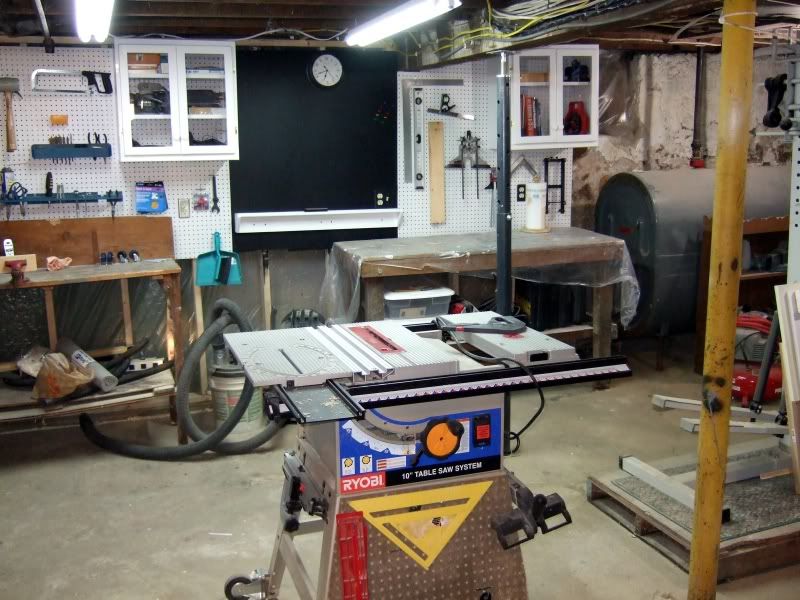
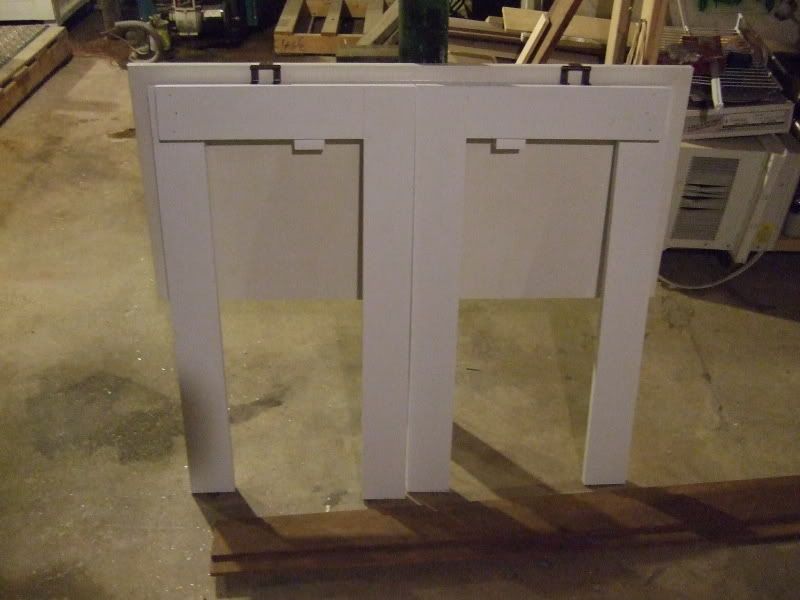
    Here's a look at my current state:


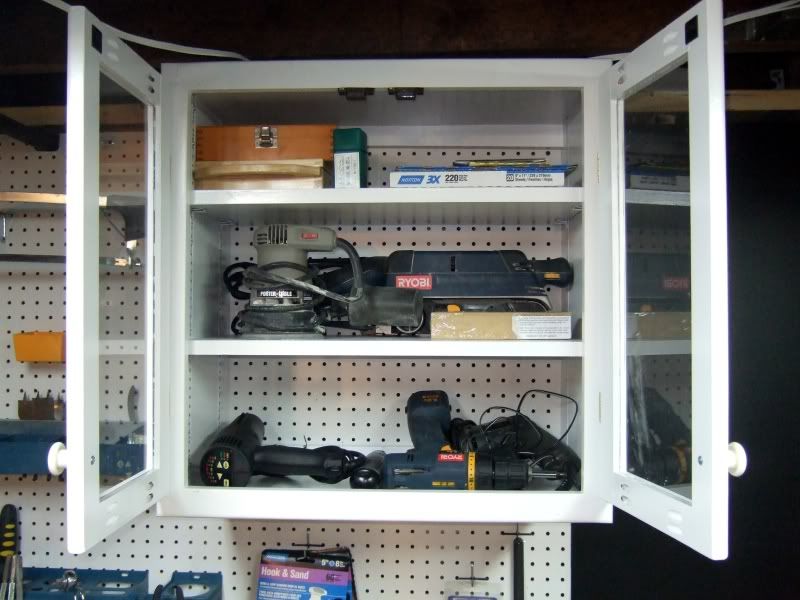
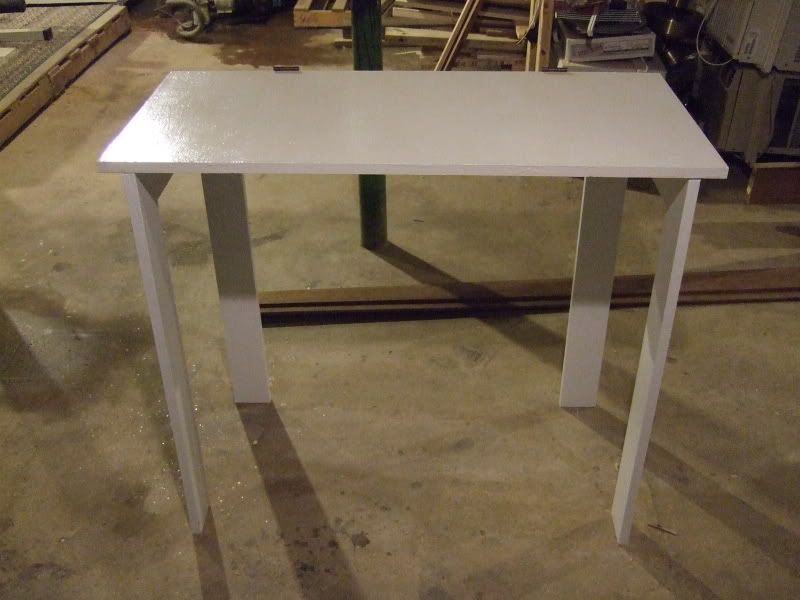
    I've got to cut and install a top rail (you might notice the 1x3 stringers) that'll act as a french cleat receiver, then I'll be mounting white pegboard to most of the upper portion of the wall, with a section of hardboard I'll be painting up with chalkboard paint and maybe even a small section of corkboard. Once that's all up, I'm planning to build at least one knock-down assembly table (I've just learned that I really don't have enough table space to easily manage painting a ton of trim, for instance!), three wall cabinets, and two base cabinets. I'll be rehabbing a store-bought workbench (very minor work, just a little cleanup and sealing of surfaces where mold has proven to grow), and eventually replacing one of two workbenches that came with the house (the other's getting trashed once the cabinets are in - the thing's too far gone and was shoddily constructed to boot).
  • JR
    The Full Monte
    • Feb 2004
    • 5633
    • Eugene, OR
    • BT3000

    #2
    That's going to be HUGE improvement! It's big step forward if all you did was get white walls and good lighting, but with everything else you have planned it's going to be excellent.

    JR
    JR

    Comment

    • DUD
      Royal Jester
      • Dec 2002
      • 3309
      • Jonesboro, Arkansas, USA.
      • Ryobi BT3000

      #3
      Lot's of work, but worth it. You are coming along nicely. Bill
      5 OUT OF 4 PEOPLE DON'T UNDERSTAND FRACTIONS.

      Comment

      • pelligrini
        Veteran Member
        • Apr 2007
        • 4217
        • Fort Worth, TX
        • Craftsman 21829

        #4
        Originally posted by RyFitz13
        I began some long-delayed work on my shop area over the weekend. For a little background, my "shop area" is currently a corner of my basement, which itself is made up from a field stone foundation and poured (and not even close to flat/level in many places) slab floor.
        If you really wanted a level floor there are a bunch of products out there that can do it. Stuff like USG's levelrock http://www.levelrock.com/
        Erik

        Comment

        • RyFitz13
          Established Member
          • Jan 2004
          • 127
          • Terryville, CT, USA.
          • BT3100

          #5
          Thanks for the encouragement guys, and for the advice, pelligrini. That's definitely a product I'll look into - that is, assuming my makeshift trench actually works in keeping the water out of my area.

          Comment

          • dbhost
            Slow and steady
            • Apr 2008
            • 9232
            • League City, Texas
            • Ryobi BT3100

            #6
            Yep, you are coming along nicely there. You won't regret having that wiring pulled in during the build. So much easier than after the sheet rock or peg board is on...
            Please like and subscribe to my YouTube channel. Please check out and subscribe to my Workshop Blog.

            Comment

            • RyFitz13
              Established Member
              • Jan 2004
              • 127
              • Terryville, CT, USA.
              • BT3100

              #7
              That's exactly what I figured with the wiring... Better do it now, while I still have all that easy access! (I just recently pulled some wire for a light fixture in the bedroom - not the most fun task in a 97-year old house) And I've got junction boxes in the ceiling to tie into, should I decide to extend either circuit somewhere down the road.

              I also figured it'd be easier to put the vapor barrier on before standing up the wall (someone else suggested as much in another thread). Of course, I flubbed that one. The frame was up, looking nice, and I glance at my pile of materials to see the sheeting sitting on top. D'oh! Probably for the best though, since I had to assemble this in three sections as it stood, to navigate around various obstacles. Fortunately, I left just enough room behind the framing to squeeze a staple gun!

              Comment

              • Ed62
                The Full Monte
                • Oct 2006
                • 6022
                • NW Indiana
                • BT3K

                #8
                That's one job you'll never regret. It should do the trick nicely for you. More pics when finished?

                Ed
                Do you know about kickback? Ray has a good writeup here... https://www.sawdustzone.org/articles...mare-explained

                For a kickback demonstration video http://www.metacafe.com/watch/910584...demonstration/

                Comment

                • RyFitz13
                  Established Member
                  • Jan 2004
                  • 127
                  • Terryville, CT, USA.
                  • BT3100

                  #9
                  Well, I mentioned some "before" pics - so here's a couple shots of the basement before I got started. I had covered up my router table and a workbench in plastic so I could paint a dutch door.


                  Now, I've done a little more work, though I've had to slow down considerably. (It turns out some hand troubles I've been having lately are due to carpal tunnel syndrome, lucky me).

                  Anyway, here's the current state of the shop. The hardboard section of the wall is going to get painted with chalkboard paint. Lots more organization needs to be done, but Stage 1 is basically done. Now it's on to building another assembly table, then some cabinets.

                  The bench in the left corner will be the first to go. It'd be a stretch to say it's seen better days - it was just shoddily built by whoever left it in the house for me. Also, the workout bench is gonna go, probably this weekend. It's been down there taking up space and not being used for way too long.


                  Comment

                  • Mr__Bill
                    Veteran Member
                    • May 2007
                    • 2096
                    • Tacoma, WA
                    • BT3000

                    #10
                    When I lived in East Haddam I had a basement with walls very much like that. Kept the water out like a screen door. If the trench behind the dam is dry you can paint it with foundation sealer. It's black and like roofing plastic cement and will get into the cracks and pores and make your trench hold water to drain away to the sump. I should have told you this prior to putting the wall up, sorry about that.

                    Bill, now on the Sunny Oregon Coast

                    Comment

                    • RyFitz13
                      Established Member
                      • Jan 2004
                      • 127
                      • Terryville, CT, USA.
                      • BT3100

                      #11
                      I haven't updated this in forever, but here's a couple shots of my most recent progress:


                      As you can see, I've built and hung a trio of hanging cabinets (all hanging from a french cleat that's directly behind the top of the pegboard). Just got them stocked the other night, as I think the enamel paint is fully cured.


                      A quick detail shot on one of the cabinets. They went together pretty darned easily.

                      I also built this little fold up assembly table. It worked out great for additional painting area with the cabinets and doors...


                      This weekend, work begins on base cabinets. In the pictures above. the bench furthest to the right will get shifted all the way to the left on that back wall. The bench in that position will be dismantled and tossed (considering how it's built, dismantling won't be difficult...). And then I'll build in a pair of 30" cabinets supporting an 8' bench section. Should give me a ton of storage and solid work space to boot!

                      Comment

                      • DUD
                        Royal Jester
                        • Dec 2002
                        • 3309
                        • Jonesboro, Arkansas, USA.
                        • Ryobi BT3000

                        #12
                        Looking good. Bill
                        5 OUT OF 4 PEOPLE DON'T UNDERSTAND FRACTIONS.

                        Comment

                        • Uncle Cracker
                          The Full Monte
                          • May 2007
                          • 7091
                          • Sunshine State
                          • BT3000

                          #13
                          Needs more sawdust...

                          Comment

                          • jackellis
                            Veteran Member
                            • Nov 2003
                            • 2638
                            • Tahoe City, CA, USA.
                            • BT3100

                            #14
                            Nice job! Did you use regular glass, tempered glass or plexiglass for the upper cabinet doors?

                            I like the idea of being able to see inside the cabinets but I'm not so sure I like having lots of breakable glass in the same space with power tools. Little bits of stuff do get loose every once in a while.

                            Comment

                            • bfrikken
                              Senior Member
                              • Apr 2005
                              • 727
                              • Michigan, USA.
                              • BT-3100

                              #15
                              I like the fold up table idea. nice.

                              Comment

                              Working...