
 Tweet
Tweet
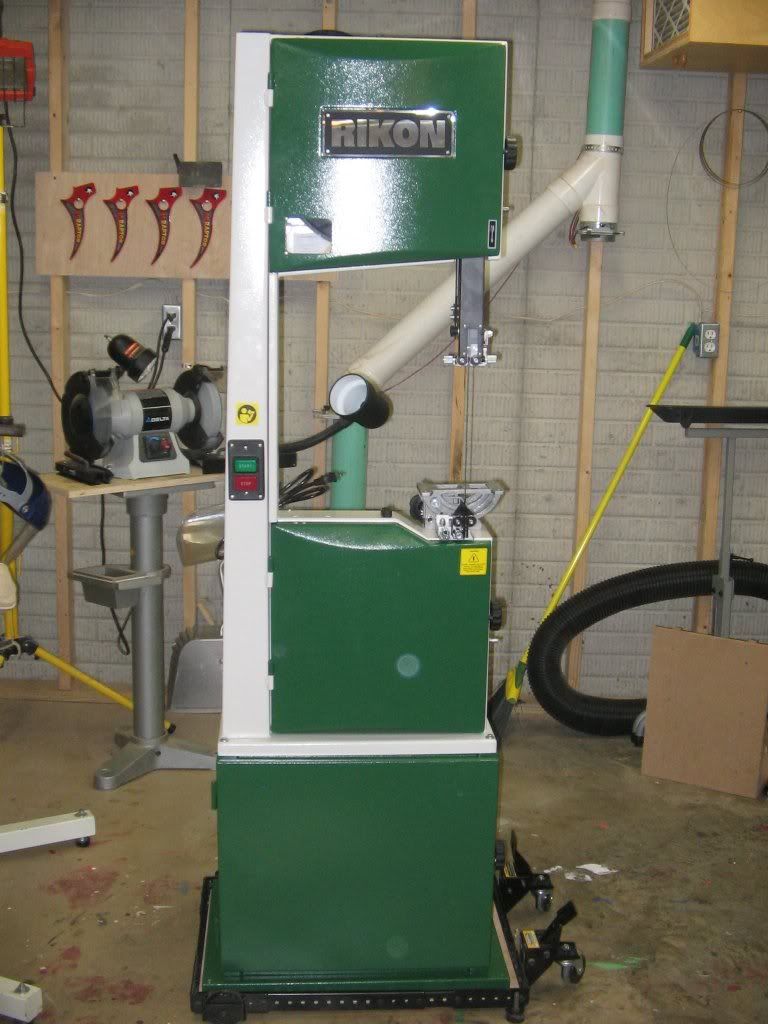
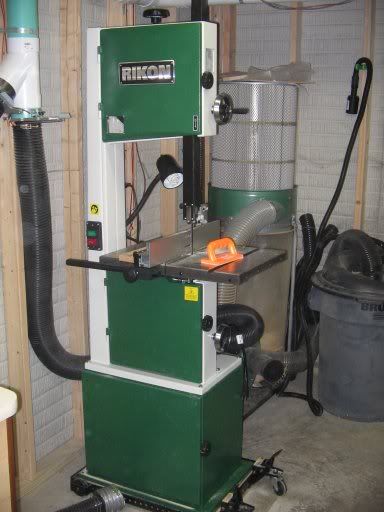
Alright, I posted this over at LumberJocks but as promised I'd post it here. Here is my new saw going together
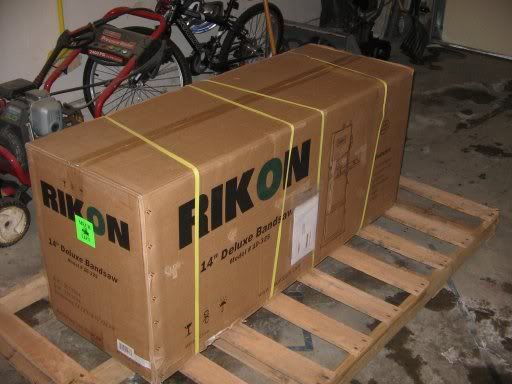
Here is a walk through of the unpacking and setup process
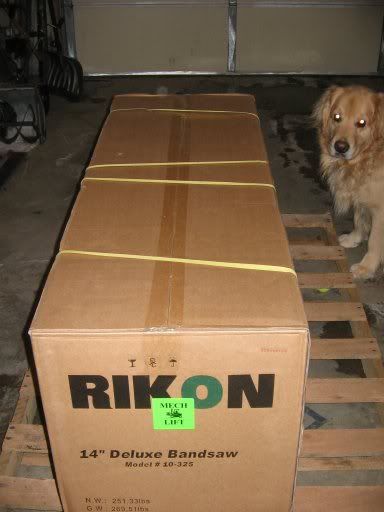
The box came on a pallet from ABF. Amazon's free shipping included lift gate service and they put it in my garage for me. (90 lbs Golden retriever for reference)
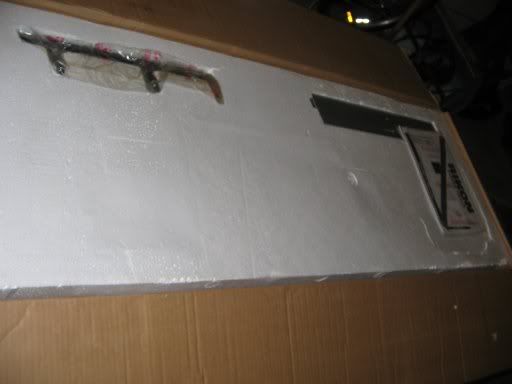
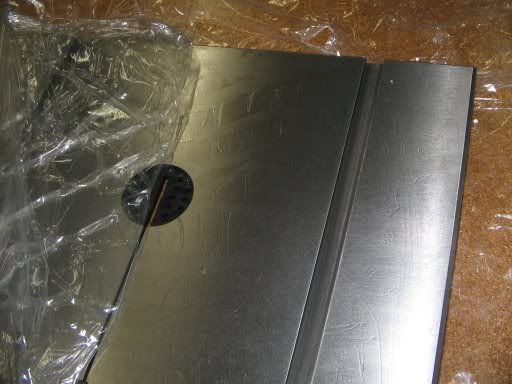
Opening the box reveals the manual, fence face and the fence rail
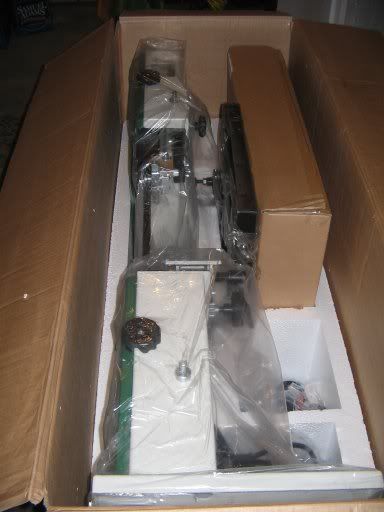
The rest of the components are accessible after removing the top styrofoam packaging. you can see the main body (far left), the table (middle), and the stand (small box upper right).
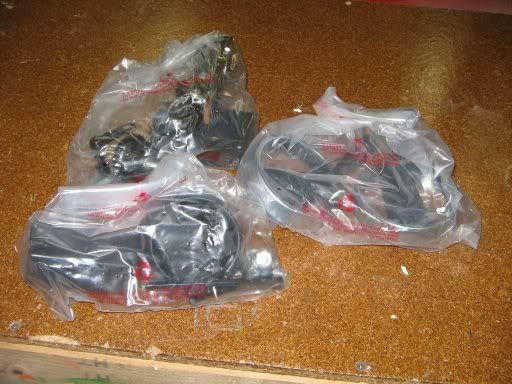
The remaining hardware and handles came in bags sorted by groups. With the exception of a phillips head screwdriver, the saw came with all the tools necessary for assembly (hex wrenches and 10 & 13 mm box wrenches).
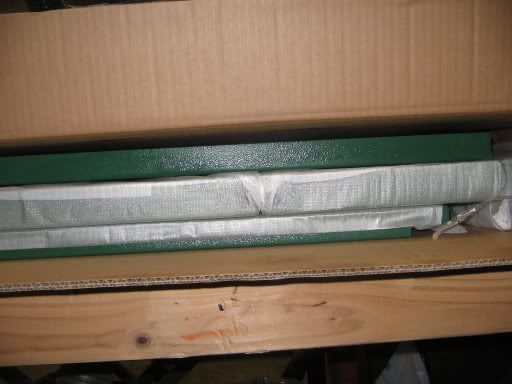
The stand came in its own box with with hardware enclosed.
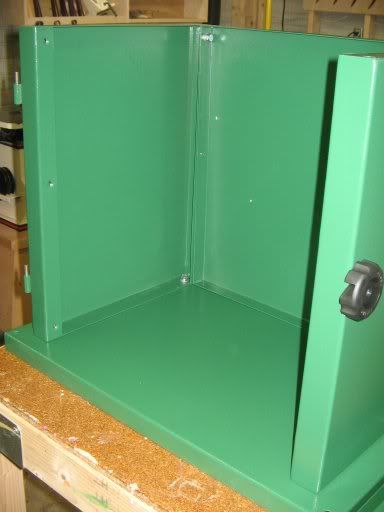
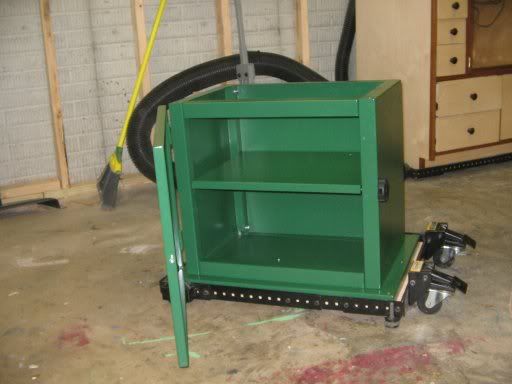
The stand construction was very straight forward, except there are a couple of large fender washers that are left over and not mentioned in the manual. These were addressed in an earlier post and are included to make up for a gap on either side of the front of the middle shelf. I'm not sure why they didn't catch it and make the shelf the right size/shape, but it really doesn't matter in the overall scheme of things.
The next step was to lift the saw onto the stand. I definitely recommend help, once on it is a simple four bolt design to attach to the stand.
The large cast iron table came covered in plastic and protective goo. A little mineral spirits was used to clean it off.
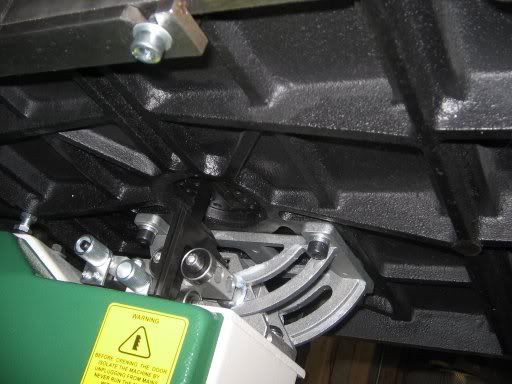
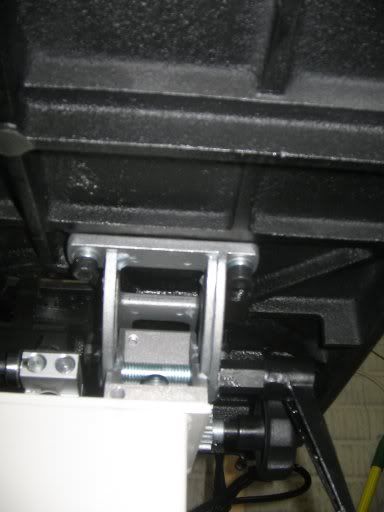
Once clean I attached to the trunions, added fence rail, 90 deg stop bolt and a longer bolt to the back left hand side of the table to hold fence when it is slid clear to the left. (sorry no close ups)

After that it was just a matter of replacing the blades and adjusting the guides per the manuals instructions.
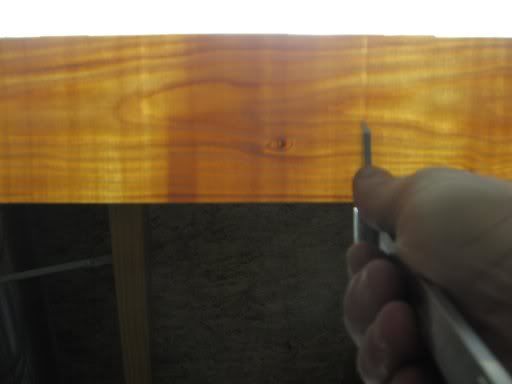
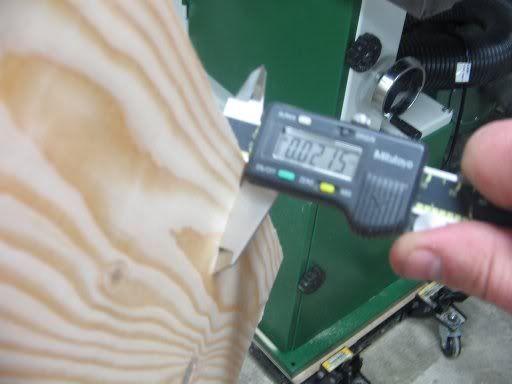
Here are some pictures of my first "slices" with the TW 1/2" 3TPI blade
!
Here is a walk through of the unpacking and setup process
The box came on a pallet from ABF. Amazon's free shipping included lift gate service and they put it in my garage for me. (90 lbs Golden retriever for reference)
Opening the box reveals the manual, fence face and the fence rail
The rest of the components are accessible after removing the top styrofoam packaging. you can see the main body (far left), the table (middle), and the stand (small box upper right).
The remaining hardware and handles came in bags sorted by groups. With the exception of a phillips head screwdriver, the saw came with all the tools necessary for assembly (hex wrenches and 10 & 13 mm box wrenches).
The stand came in its own box with with hardware enclosed.
The stand construction was very straight forward, except there are a couple of large fender washers that are left over and not mentioned in the manual. These were addressed in an earlier post and are included to make up for a gap on either side of the front of the middle shelf. I'm not sure why they didn't catch it and make the shelf the right size/shape, but it really doesn't matter in the overall scheme of things.
The next step was to lift the saw onto the stand. I definitely recommend help, once on it is a simple four bolt design to attach to the stand.
The large cast iron table came covered in plastic and protective goo. A little mineral spirits was used to clean it off.
Once clean I attached to the trunions, added fence rail, 90 deg stop bolt and a longer bolt to the back left hand side of the table to hold fence when it is slid clear to the left. (sorry no close ups)
After that it was just a matter of replacing the blades and adjusting the guides per the manuals instructions.
Here are some pictures of my first "slices" with the TW 1/2" 3TPI blade
!
 DAMHIKT)


Comment