Routing circles??

Collapse
This topic is closed.
X
X
 
  • Time
  • Show
Clear All
new posts
  • Gary L
    Forum Newbie
    • Mar 2007
    • 28
    • Forestburgh, NY
    • BT 3000 and Porter Cable

    Routing circles??

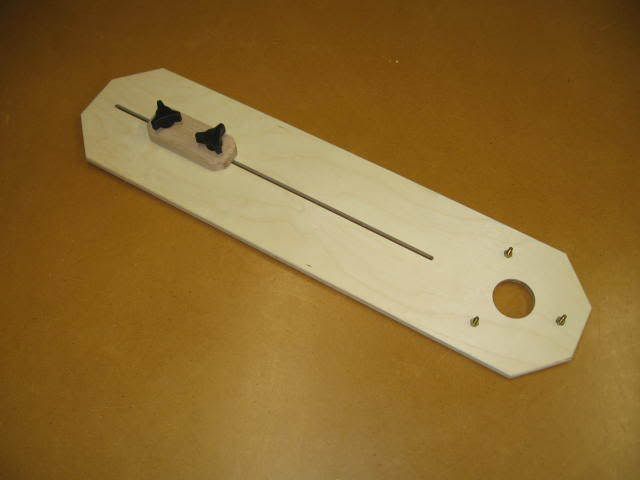
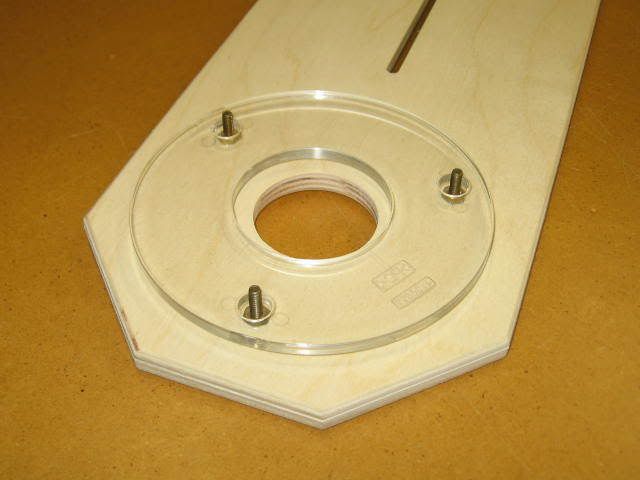
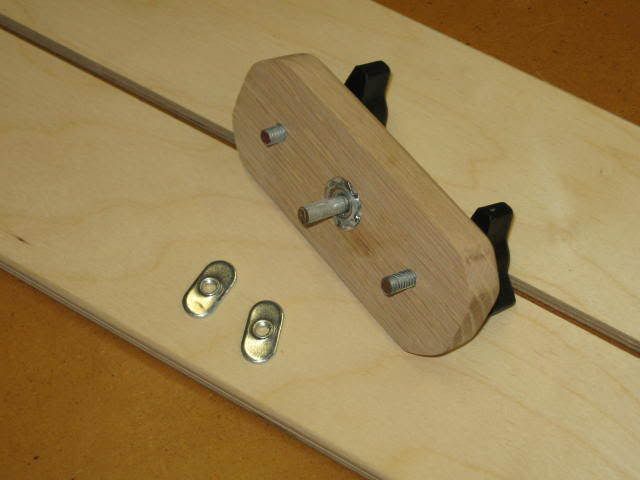
    I am in the market for some sort of circle jig to attach to my plunge router.

    I build audio speaker cabinets and need something that will make circles from 3" thru 15" and be easy to set up.

    I have looked at a few and would like some input on what ones you might have and how satisfied you are with them.

    I don't need one that makes giant circles and thing the Jasper 200 & 400 models might be a good choice.

    Has any one tried these?

    Thank you

    Gary
  • drumpriest
    Veteran Member
    • Feb 2004
    • 3338
    • Pittsburgh, Pa, USA.
    • Powermatic PM 2000

    #2
    http://www.rockler.com/product.cfm?p...g&cookietest=1

    At 80$, might be a bit pricey, otherwise make your own tramel arms...
    Keith Z. Leonard
    Go Steelers!

    Comment

    • Tarheel
      Established Member
      • Feb 2006
      • 114
      • N. Carolina

      #3
      Gary,

      I have had the Jasper 200J for about a year now. It cut's circles from about 2 1/4" to about 18" or so diameter circles. It is pretty easy to set up and I use it in by DW618 plunge base. My big concern was whether or not it was drilled to accommodate my Dewalt base screw layout. All was well. Removed the stock base from the DW and just replaced it with the Jasper jig. Installed a 1/4" upcut spiral bit in the router and I was off making circles!

      I could have just made my own router trammel, but decided I was in a hurry for a project and went ahead and bought the Jasper.

      It has been a great jig, easy to setup and has plenty of diameters that you can "dial-in". As a matter of fact in 1/16" increments; as I recall.

      Great jig!

      Wayne

      Comment

      • whitecobra
        Established Member
        • Aug 2006
        • 180
        • 3 Miles from Disney in Orlando
        • BT3K with most accessories

        #4
        If you are producing these in any quantity why not do a set of hardboard overlays and use them as templates
        Nothing easier and NO set up or expense
        You can build a set 3" to 20" for less then $25 and they will last forever
        We use templates all the time in the shop for repetitive procedures
        Combine them with either a bushing or bit with collar and you are done

        Making thew template is no more then a few minutes each

        Dr D
        Newest site to learn woodworking, DIY and Home Renovation.
        www.onlineshopclass.com built by woodworkers for woodworkers and supported by the industry so everyone wins

        If you are in the Orlando area contact me lets get together and talk saw dust (or food or anything else you like except sports)

        My wife and I are National Food Judges so we CAN talk food with the best.

        Dr Dave

        Comment

        • bmyers
          Veteran Member
          • Jun 2003
          • 1371
          • Fishkill, NY
          • bt 3100

          #5
          I was watching one of those "pimp my vehicle" shows and a pro audio shop was making a custom cabinet for a van. They just used a jig saw and the holes were not perfect but in the end it didn't matter because the speaker covers the hole anyway. As long as it's close it's good enough. If you're not making a bunch of the same size and have a jig saw, maybe that's an option for you.

          Unless you're putting the speakers inside the hole of course..

          I don't want to discourage you from making them with a router and templates or a trammel. Just an observation.

          Bill
          "Why are there Braille codes on drive-up ATM machines?"

          Comment

          • LCHIEN
            Internet Fact Checker
            • Dec 2002
            • 21104
            • Katy, TX, USA.
            • BT3000 vintage 1999

            #6
            its real easy to make your own for specific sizes.
            I take a plywood board about 1/4 to 1/2 thick, and may 3-4 inches longer than the radius of your circle.
            You need a router with a 1/2" bushing and a 1/4" spiral upcut bit
            Drill a nail hole (1/16th inch) about 1/2 inch from one end of the jig
            and a 1/2" hole R-1/8" from the nail hole.

            Put a close fitting nail thru the jig into the center of the workpiece.
            Put the router w/bushing and spiral bit into the larger hole. Plunge the bit into the workpiece and swivel the whole assy around the nail. Allow the router to spin in the jig around the bushing so it stay oriented the same towards you while holding the handles.
            After each pass, lower the bit 1/8".
            You'll need a sacrificial surface underneath!
            Loring in Katy, TX USA
            If your only tool is a hammer, you tend to treat all problems as if they were nails.
            BT3 FAQ - https://www.sawdustzone.org/forum/di...sked-questions

            Comment

            • LarryG
              The Full Monte
              • May 2004
              • 6693
              • Off The Back
              • Powermatic PM2000, BT3100-1

              #7
              I agree with the hardboard (or MDF, or Baltic birch plywood) template suggestion. I've used both trammel arms and templates and prefer the latter for smaller circular cutouts. Make the template once, get it right, and then it's simple and foolproof from then on.

              You can dispense with bushings and bearing-guided bits by making the circle in the template large enough to allow for the router's base diameter. Then you just shove the router around the inside of the template cutout with the router's base riding against the template.

              One big advantage of any of these template-guided approaches: if your router drifts off course, it doesn't matter. With a trammel arm, if something slips, you'll usually ruin the workpiece.
              Larry

              Comment

              • Thom2
                Resident BT3Central Research Ass.
                • Jan 2003
                • 1786
                • Stevens, PA, USA.
                • Craftsman 22124

                #8
                Originally posted by LCHIEN
                its real easy to make your own for specific sizes.
                I take a plywood board about 1/4 to 1/2 thick, and may 3-4 inches longer than the radius of your circle.
                You need a router with a 1/2" bushing and a 1/4" spiral upcut bit
                Drill a nail hole (1/16th inch) about 1/2 inch from one end of the jig
                and a 1/2" hole R-1/8" from the nail hole.

                Put a close fitting nail thru the jig into the center of the workpiece.
                Put the router w/bushing and spiral bit into the larger hole. Plunge the bit into the workpiece and swivel the whole assy around the nail. Allow the router to spin in the jig around the bushing so it stay oriented the same towards you while holding the handles.
                After each pass, lower the bit 1/8".
                You'll need a sacrificial surface underneath!
                This has got to be one of the easiest and most brilliant solutions that I've ever heard of. Thank You Loring, this tip will definately get used at some point.
                If it ain't broke.. don't fix it!!!... but you can always 'hop it up'
                **one and only purchaser of a BT3C official thong**

                Comment

                • cgallery
                  Veteran Member
                  • Sep 2004
                  • 4503
                  • Milwaukee, WI
                  • BT3K

                  #9
                  Nahm, on the NYW, recently demonstrated making a new bandsaw circle jig. The same method could be used for a router circle jig (bandsaw won't work for cutting speaker holes).

                  He cut a slot on one side large enough for a 1/4" nut to slide in (but small enough that it won't spin). From the other side he threads a 1/4" bolt into the nut. This allowed him to slide the nut/bolt along the entire slotted radius and set it in infinite positions. Once he had it where he wanted it, he tightened the bolt down and it protruded enough to become the center point of the tramel.

                  I imagine you could do the same thing with material 1/2" or even 3/8" thick.

                  I hope I'm describing this well enough.

                  Oh, and one other thing. It makes sense to have the baffle and the speaker hole "cutoff" attached to a sacrificial base. This keeps the router from wandering at the end of the cut (once the cutoff is free it no longer guides the router bit).

                  Comment

                  • JimD
                    Veteran Member
                    • Feb 2003
                    • 4187
                    • Lexington, SC.

                    #10
                    I recently needed to cut a circle about 12 inch diameter. Instead of making a custom base for my router as Loring suggests (which is a good idea and something I've done), I just put on my offset base - one with a handle six inches or so to the side, and drilled a little hole in it where I wanted the pivot to be.

                    I cannot image buying something like this. Way to easy to make. I also agree that a pattern would be safer than pivoting the router around. Pivoting the router would be a great way to make a mdf pattern for both the hole and the recess for the speaker, however.

                    Jim

                    Comment

                    • LarryG
                      The Full Monte
                      • May 2004
                      • 6693
                      • Off The Back
                      • Powermatic PM2000, BT3100-1

                      #11
                      Here are some pictures of my shop-built trammel arm, built along the same lines as what cgallery describes. The arm is 1/2" Baltic birch plywood; the pivot block is red oak. Should be pretty self-explanatory as to how it works, I think, but just in case ... the tee nuts hold the pivot block in the desired position and the longer, center pin goes into a hole drilled into the workpiece. One little trick feature that's not evident in the photo is that the machine screws that will hold the router on have nuts on them, recessed into counterbores; this keeps the longer screws needed to attach the router always at hand, with no chance of them getting lost.


                      However as mentioned before, for repetitive work involving smaller circles, I'd not use this but would use a template instead.
                      Last edited by LarryG; 03-23-2007, 08:30 AM.
                      Larry

                      Comment

                      • jziegler
                        Veteran Member
                        • Aug 2005
                        • 1149
                        • Salem, NJ, USA.
                        • Ryobi BT3100

                        #12
                        I'd just like to add a suggestion for the smaller circles. When I built a set of speakers a few months ago, all the drivers were small (5 1/4" woofers, I think). Rather than an expensive circle jig, or templates for just one set of speakers, I got a fly cutter for my drill press and cut the holes that way. Of course, this only works for the smaller holes, but it worked well. I just needed to set the drill press speed low and go slowly.

                        I think that if I make any more, I'll make a template, since I liked the speaker kit enough that I will probably buy more from that company, I'll be seeing those sizes again.

                        Jim

                        Comment

                        • leehljp
                          Just me
                          • Dec 2002
                          • 8470
                          • Tunica, MS
                          • BT3000/3100

                          #13
                          I built one very similar to Larry's about a year ago and it worked well. Mine started out from plans in a Shop Notes but I mades some modifications. It basically looks like Larrys now, except rounded ends.
                          Hank Lee

                          Experience is what you get when you don't get what you wanted!

                          Comment

                          • Gary L
                            Forum Newbie
                            • Mar 2007
                            • 28
                            • Forestburgh, NY
                            • BT 3000 and Porter Cable

                            #14
                            Great input here and thanks to all for the tips.
                            I have always been able to work through these challenges where one size circle needs to be cut.
                            My situation requires numerous different sized circles and I do like the idea of a set of templates, storage of these becomes a constant source of clutter in an already tiny area.
                            I think I have made circles about every way possible from my sabre saw to my band saw and with fly cutters and the router.
                            The requirement to have a quick and adjustable jig just seems the best solution.
                            I bit the bullet and purchased the combo pack Jasper 200 & 400 that will arrive tomorrow from Parts Express. As mentioned above, as long as it mounts directly to my 1611EVS I should be all set. More to follow!

                            Very interesting some of the solutions provided here. It never ceases to amaze me the lengths we go to in jumping these hurdles. It sure is nice to have a place like this to discuss these solutions and get the great advice from others who have been there before.

                            I will post some pics when I get set up with the new tools.

                            Gary

                            Comment

                            • LCHIEN
                              Internet Fact Checker
                              • Dec 2002
                              • 21104
                              • Katy, TX, USA.
                              • BT3000 vintage 1999

                              #15
                              Originally posted by Thom2
                              This has got to be one of the easiest and most brilliant solutions that I've ever heard of. Thank You Loring, this tip will definately get used at some point.
                              Sure, Thom, works great. You can also add additional pivot holes anytime you want - they don't have to be on the center line, so you can put closely spaced holes offset to the side of center. Mark each hole as to the distance.

                              The only trouble with this jig and I'm sure most of the others, is if you are making the hole in the base piece of wood, as the circle comes free you have to be careful not to gouge the base piece. If you are just interested n te circle, the circle will never be damaged because the bit is referenced to the hole.

                              Three ways around the gouge problem (and the latter two won''t damage your work surface or support material):
                              1) double stick tape on the supporting material holding both the circle and the base
                              2) carefully cut to within 1/32 or so of breaking thru and then use an exacto knife to release the circle.
                              3) cut halfway to 3/4 way thru, flip the workpiece over and reinstall the jig and cut from the other side. You should have made sure to drill a pilot hole for the center nail all the way thru. Also use DP to get the hole perfectly vertical AND make sure your router bit is centered in the guide bushing as when you rotate the router the big circle will not be perfectly concentric unless you do the alignment. Bosch among others has a baseplate tha allows alignment.
                              Loring in Katy, TX USA
                              If your only tool is a hammer, you tend to treat all problems as if they were nails.
                              BT3 FAQ - https://www.sawdustzone.org/forum/di...sked-questions

                              Comment

                              Working...