
This for future reference; I'm almost done with the current one. Pictures when finished.
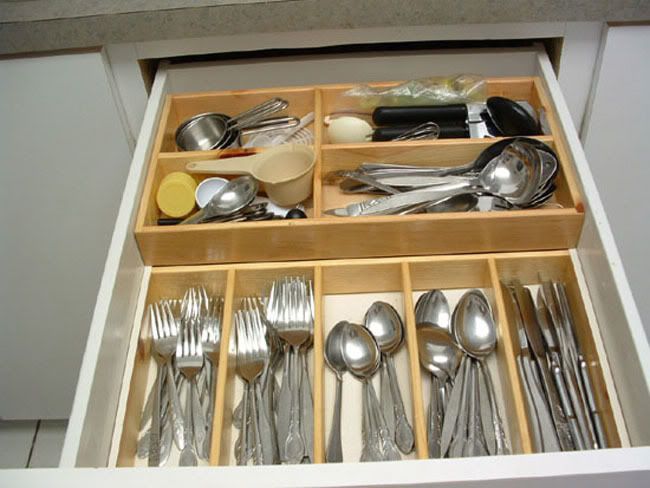
I'm building a two-level cutlery tray for a kitchen-drawer, copying from something like this :
I decided to cut box (finger) joints on the router though I have a set of dado, because I thought the router cuts would be superior.
When I bought by router+table from CL, a set of box-joint set-ups came with it, as here; looks like this :

Advantage being the 'fence' is exactly 1/4" or 3/8" or 1/2" thick, so I just need to ensure that the distance between the fence and the bit be exactly the same (1/4" or 3/8" or 1/2") as the bit size. I got it right within two trial cuts.
My drawer has a bottom portion of 2" high, and a smaller upper portion of 1.5" high, both even multiples of 1/4" so neither my pins and tails were less than full width.
I found I could have planned the glue-up better : I ended up hustling when the glue seemed to dry up before I was done applying to the last of the pins (and this was just 4 pins at a time). I guess I should have used a narrow paint-brush instead of depending on my fat fingers") .
.
Also, I had not planned on clamping after the glue, effectively depending on the joints to hold tightly enough till the glue did its job, because I thought the clamps might kick the 'rectangular' structure out of square, and of course the piece was too small for 4 clamps I'd have needed. Maybe I should have used my band clamp?
But after drying the glue-up seems to be strong enough, though the fingers were a bit 'proud' of the surface. I pondered using a handplane but ended up sanding with a ROS. A nice side-benefit was that the sawdust filled up a couple of microscopic gaps in the joints for a better look !
!
For the dividers within I simply glue-butt-joined and left it dry this morning, and later shall reinforce with miller dowels. Thoughts?
I'm building a two-level cutlery tray for a kitchen-drawer, copying from something like this :
I decided to cut box (finger) joints on the router though I have a set of dado, because I thought the router cuts would be superior.
When I bought by router+table from CL, a set of box-joint set-ups came with it, as here; looks like this :
Advantage being the 'fence' is exactly 1/4" or 3/8" or 1/2" thick, so I just need to ensure that the distance between the fence and the bit be exactly the same (1/4" or 3/8" or 1/2") as the bit size. I got it right within two trial cuts.
My drawer has a bottom portion of 2" high, and a smaller upper portion of 1.5" high, both even multiples of 1/4" so neither my pins and tails were less than full width.
I found I could have planned the glue-up better : I ended up hustling when the glue seemed to dry up before I was done applying to the last of the pins (and this was just 4 pins at a time). I guess I should have used a narrow paint-brush instead of depending on my fat fingers
. Also, I had not planned on clamping after the glue, effectively depending on the joints to hold tightly enough till the glue did its job, because I thought the clamps might kick the 'rectangular' structure out of square, and of course the piece was too small for 4 clamps I'd have needed. Maybe I should have used my band clamp?
But after drying the glue-up seems to be strong enough, though the fingers were a bit 'proud' of the surface. I pondered using a handplane but ended up sanding with a ROS. A nice side-benefit was that the sawdust filled up a couple of microscopic gaps in the joints for a better look
!For the dividers within I simply glue-butt-joined and left it dry this morning, and later shall reinforce with miller dowels. Thoughts?
 LCHIEN
 Loring in Katy, TX USA
Comment