Progress on Entertainment Center

Collapse
This topic is closed.
X
X
 
  • Time
  • Show
Clear All
new posts
  • IBBugsy
    Established Member
    • Jan 2006
    • 160
    • Allentown, PA.
    • BT3100

    #1

    Progress on Entertainment Center

    Well, spent the last two holiday weeks getting the lower part of the ent. center complete. Here was the original design I posted a while back:
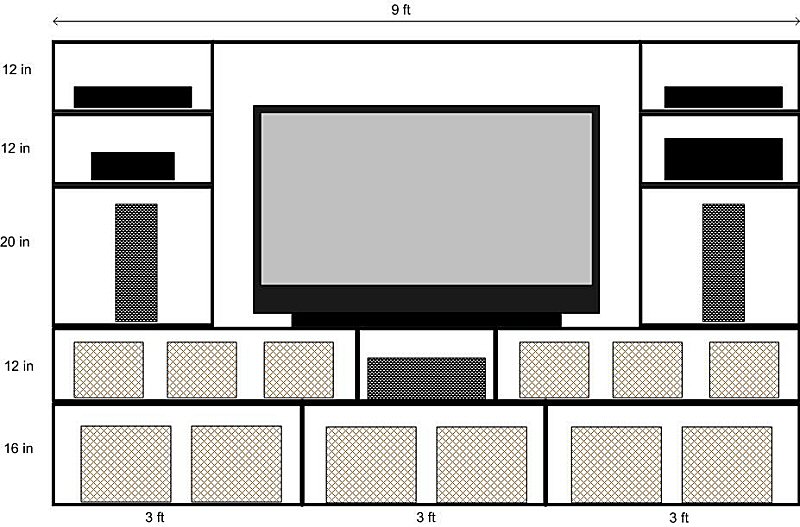


    I completed the bottom two rows. Each row is three boxes made out of 3/4" birch plywood.

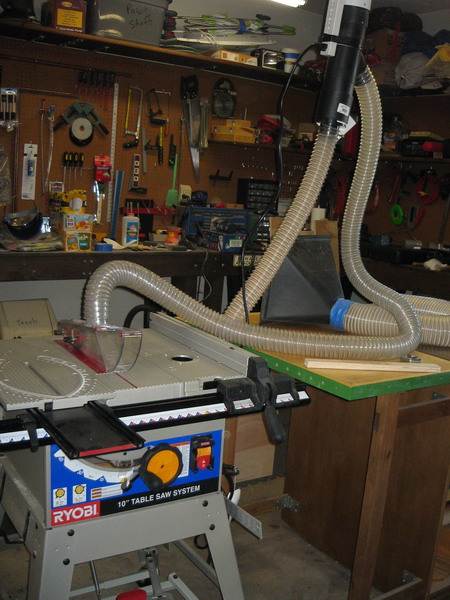
    Here's the simple setup I have in my garage - a BT3100 with dust collection above and below and a movable folding workbench.


    Here's a pic of the sanding setup I used.
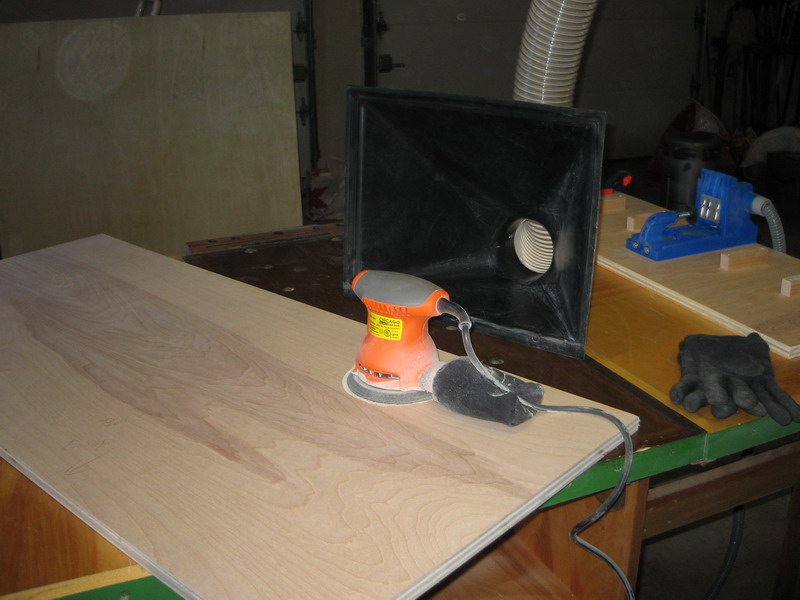


    Pretty dusty but could be worse. Here's the pocket hole setup. I used 6 pocket holes along the 20 inch depth.
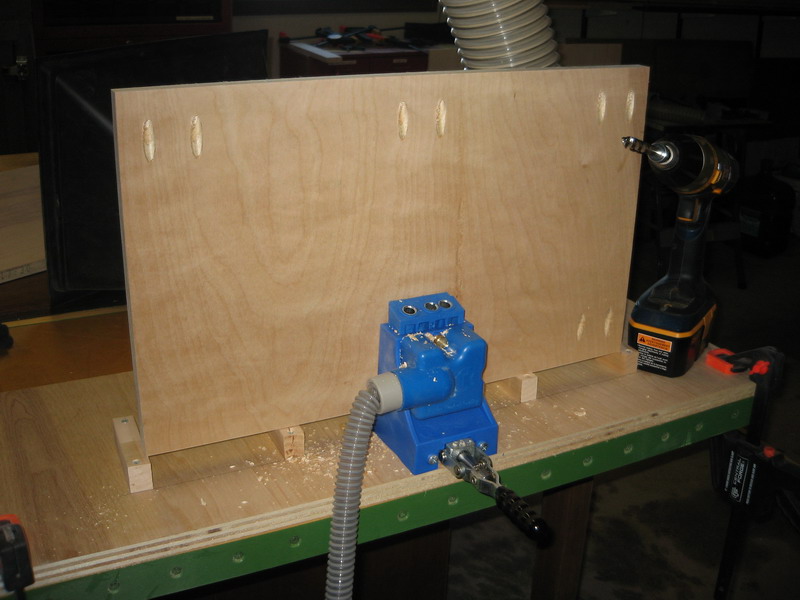


    Really nice and easy using the Kreg system (my first time). Here's the clamping setup to set the screws. I relied on the plastic L's to keep things square and it seems to have worked out fine.
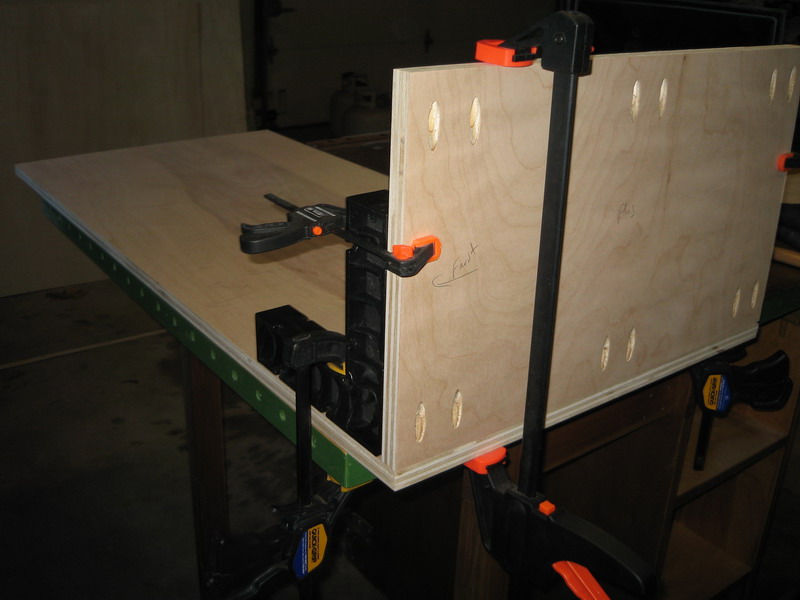


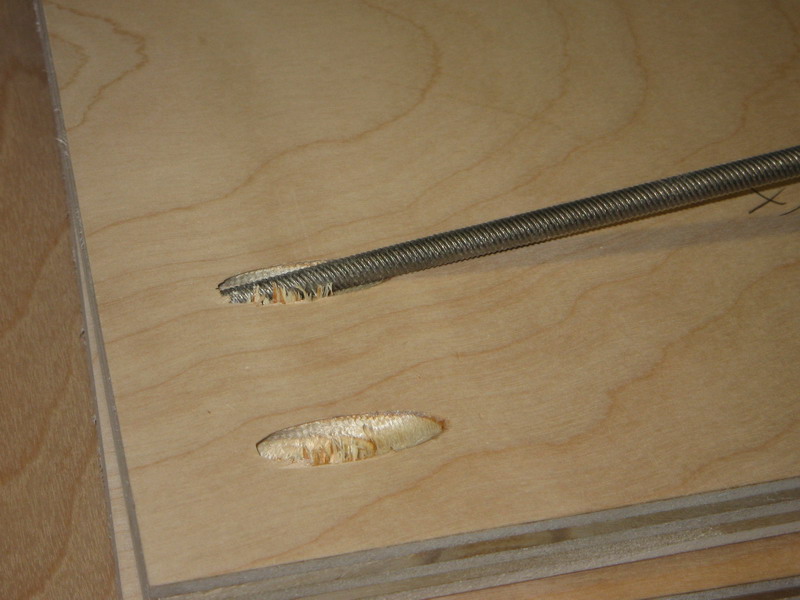
    Next I filed the pocket holes to make the plugs fit easier.


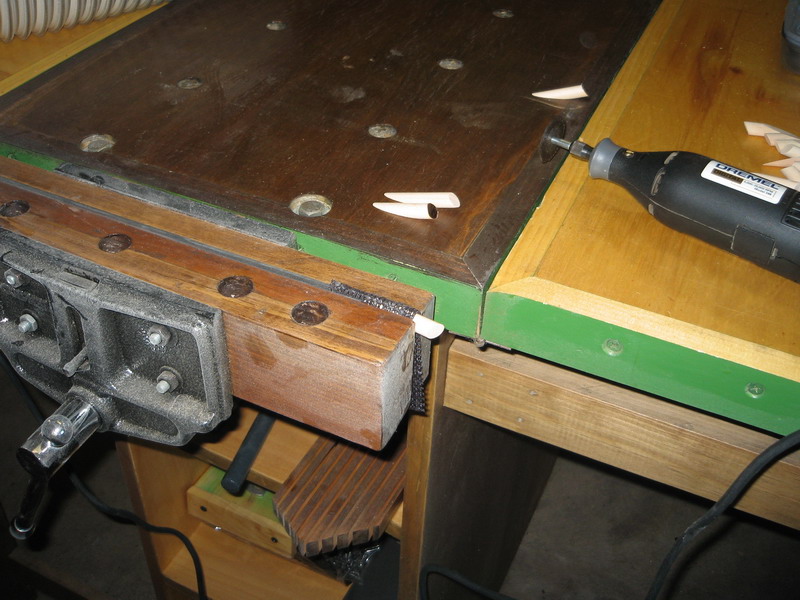
    I found that cutting off some of the plug length reduced the sanding requirements a lot. Here's how I cut the plugs with a Dremel. I held the plug with my vice and some tacky cloth. Not the best setup but it was all I could think of.


    Here's the tools for placing the plugs.
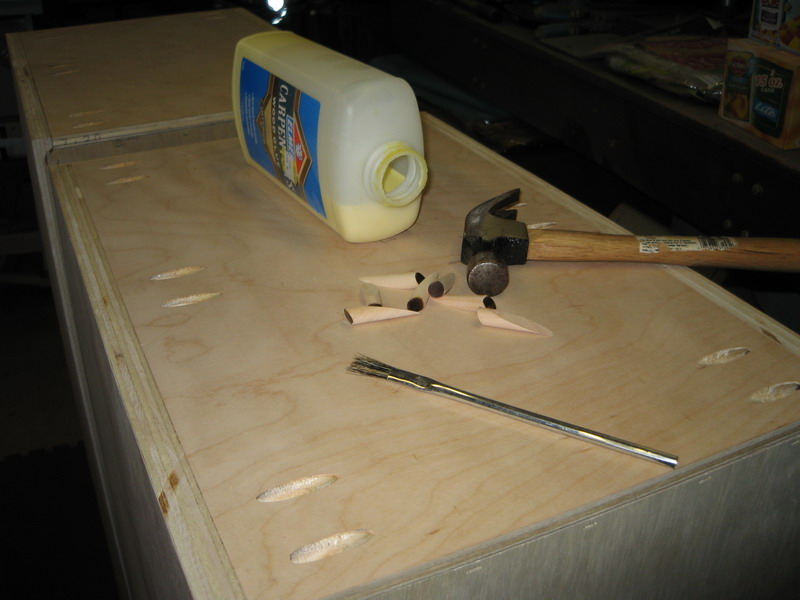


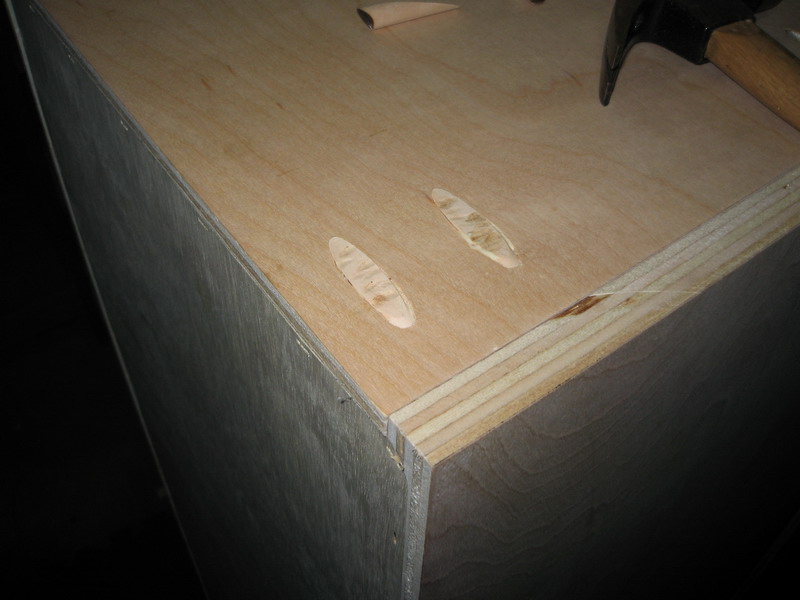
    I needed to hammer the plugs to seat them well but it didn't matter since I still had to sand some. Here's the hammered plugs.


    The upper row has boxes 42" wide and I felt they might sag so I added a small 1" wide brace on the back.
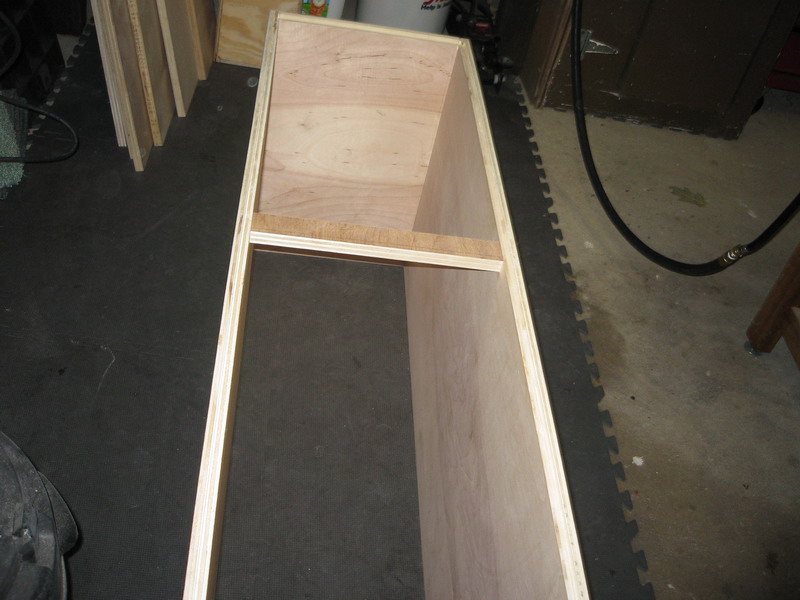


    The brace is inset a bit since I routed a groove around the box to inset the backs.
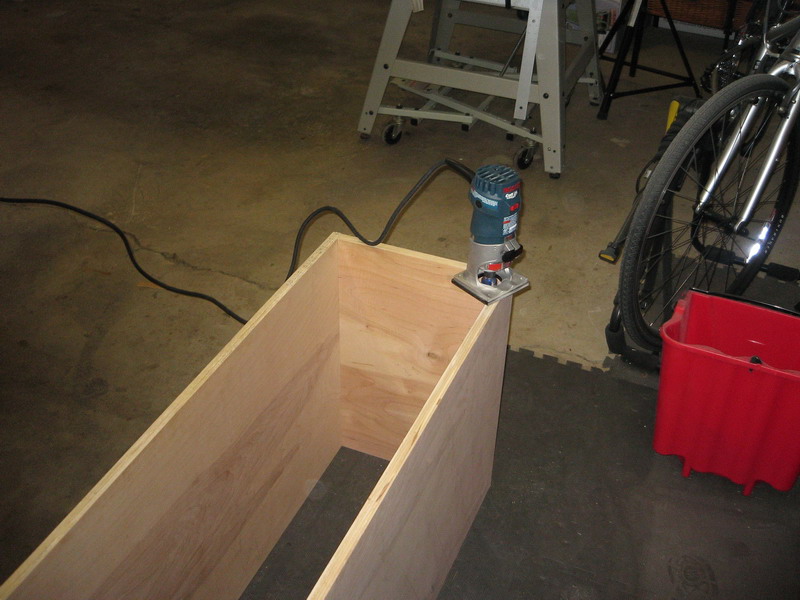


    Here's a shot of all the dust thrown by the router.
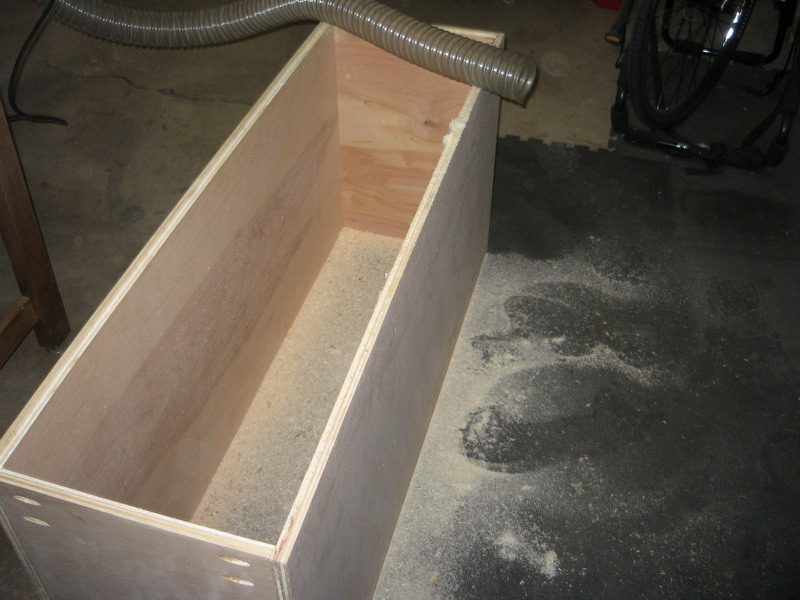


    Here's what the completed back looks like. I used 1/4 plwood on the top row and 3/4 plywood on the bottom for more strength.
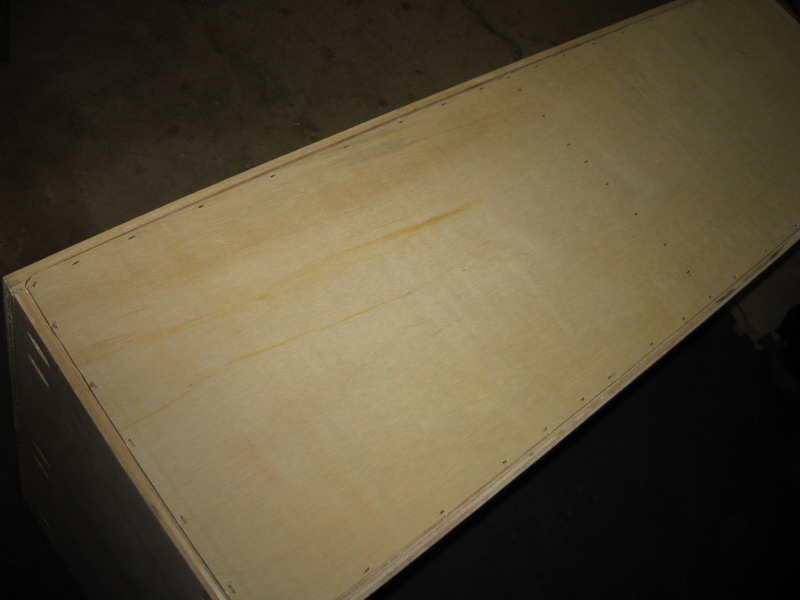


    Here's what the second row looked like once I put it on.
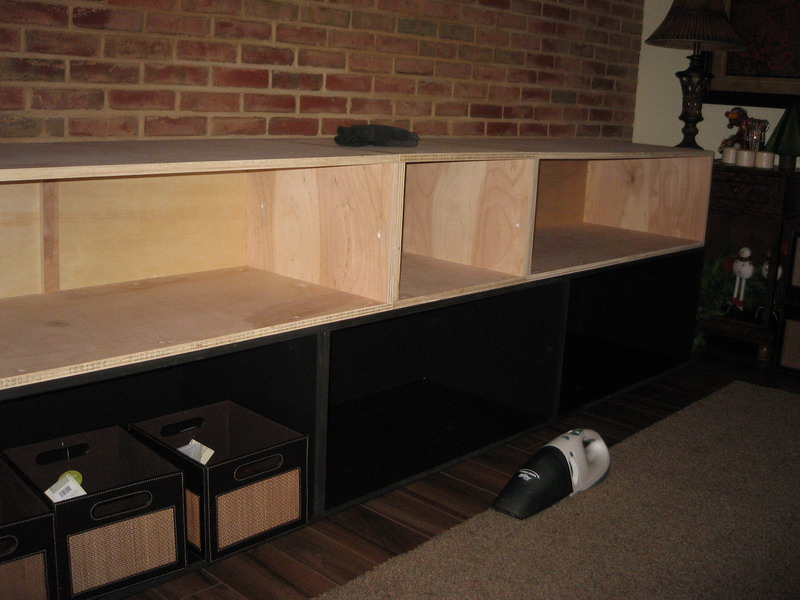


    Now on to the face frames. I cut a clear 1x10 pine board down and used glue and brad nails.
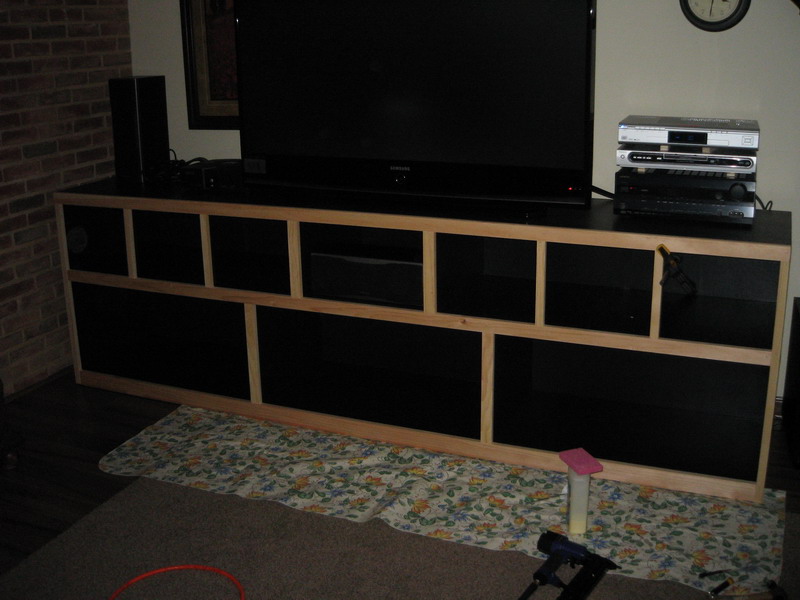


    I added more braces to the front of the 42" long boxes on the top row since it seemed to need it. Here's the final photo of what I've finished so far.
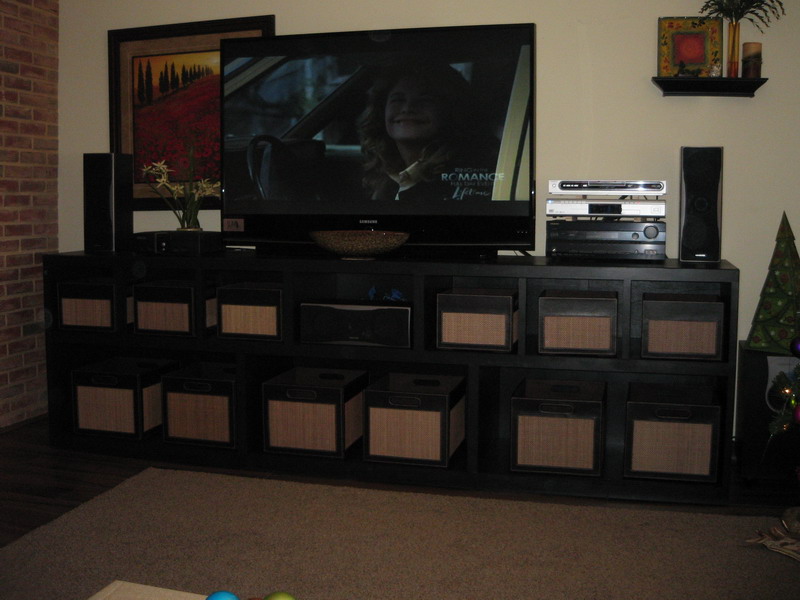


    For the bottom, I ran two 8 foot 2x4's along the bottom and attached felt sliders. It moves easily on my fake wood floor.

    Now my wife has to make the final decisions on the sides.
    Dave - Weekend Garage Junkie
    "I'm no physicist but I know what matters" - Popeye
  • dbhost
    Slow and steady
    • Apr 2008
    • 9544
    • League City, Texas
    • Ryobi BT3100

    #2
    That's a LOT of pocket screws for sure! I just disassembled my last pocket screw project (rolling cart for a cheapo router table, that function got moved to the BT).

    Just curious, why pocket screws instead of maybe biscuits?
    Please like and subscribe to my YouTube channel. Please check out and subscribe to my Workshop Blog.

    Comment

    • chopnhack
      Veteran Member
      • Oct 2006
      • 3779
      • Florida
      • Ryobi BT3100

      #3
      Very good execution Dave! Looks very well thought out. What plywood did you use?
      I think in straight lines, but dream in curves

      Comment

      • IBBugsy
        Established Member
        • Jan 2006
        • 160
        • Allentown, PA.
        • BT3100

        #4
        Originally posted by dbhost
        Just curious, why pocket screws instead of maybe biscuits?
        I didn't have the Kreg system before this project - it's one of my "gifts" to myself for doing this. I compared the two systems a while back to decide what to buy and decided on the pocket screws. I seem to remember my reasons were: (1) pocket screws are a stronger joint and (2) less measuring (no matching of slots in one board with another).

        I used a bunch of pockets since this thing is heavy and I was concerned about everything staying in place. I'm a novice in woodworking and I've heard about swelling with humidity changes. Being in the Northeast, my house varies a bit in humidity due to the seasons.
        Dave - Weekend Garage Junkie
        "I'm no physicist but I know what matters" - Popeye

        Comment

        • IBBugsy
          Established Member
          • Jan 2006
          • 160
          • Allentown, PA.
          • BT3100

          #5
          Originally posted by chopnhack
          Very good execution Dave! Looks very well thought out. What plywood did you use?
          When I built the mobile folding work bench, the plans called for baltic birch plywood. I have a lumber yard just up the street from my house. It's mainly a contractor shop but I went in and asked for baltic birch plywood. They seemed to question the "baltic" clarification but they suggested their good birch plywood. It was great for the workbench so I used it for this project as well. The cost was about $55 for a 4'x8' sheet of 3/4 inch.
          Dave - Weekend Garage Junkie
          "I'm no physicist but I know what matters" - Popeye

          Comment

          • chopnhack
            Veteran Member
            • Oct 2006
            • 3779
            • Florida
            • Ryobi BT3100

            #6
            Thats actually a really good price, the crapo at the borg wont even hold screws very well! Again, nice work.
            I think in straight lines, but dream in curves

            Comment

            • cabinetman
              Gone but not Forgotten RIP
              • Jun 2006
              • 15216
              • So. Florida
              • Delta

              #7
              Originally posted by dbhost
              That's a LOT of pocket screws for sure!

              That's what I was thinking. It looks good and you did a great job. For as many pocket screws you used, with this type of fabrication I would have gone with dadoes and rabbets. The machining may seem like a never ending process, but with a good shop built dadoe jig like this, it's very fast. Just a suggestion.
              .

              Comment

              • dbhost
                Slow and steady
                • Apr 2008
                • 9544
                • League City, Texas
                • Ryobi BT3100

                #8
                Originally posted by cabinetman
                That's what I was thinking. It looks good and you did a great job. For as many pocket screws you used, with this type of fabrication I would have gone with dadoes and rabbets. The machining may seem like a never ending process, but with a good shop built dadoe jig like this, it's very fast. Just a suggestion.
                .
                I'm not fussing, just trying to understand why someone would chose one method over another. Trying to learn...

                Yeah, Dadoes and rabbets would have been a good method as well... I bet those pocket screws were FAST to do though...
                Please like and subscribe to my YouTube channel. Please check out and subscribe to my Workshop Blog.

                Comment

                • cabinetman
                  Gone but not Forgotten RIP
                  • Jun 2006
                  • 15216
                  • So. Florida
                  • Delta

                  #9
                  Originally posted by dbhost
                  I'm not fussing, just trying to understand why someone would chose one method over another. Trying to learn...

                  Yeah, Dadoes and rabbets would have been a good method as well... I bet those pocket screws were FAST to do though...

                  It's just better joinery. No real set up puttin' in screws. Pieces just fit in their places with glue and clamps, and it's much stronger than a butt joint. Part of the decision for fabrication may relate to how much a piece will be moved around during fabrication, delivery and installation. Strength and appearances are also issues. Pocket screws and biscuits are my last choice.
                  .

                  Comment

                  Working...