
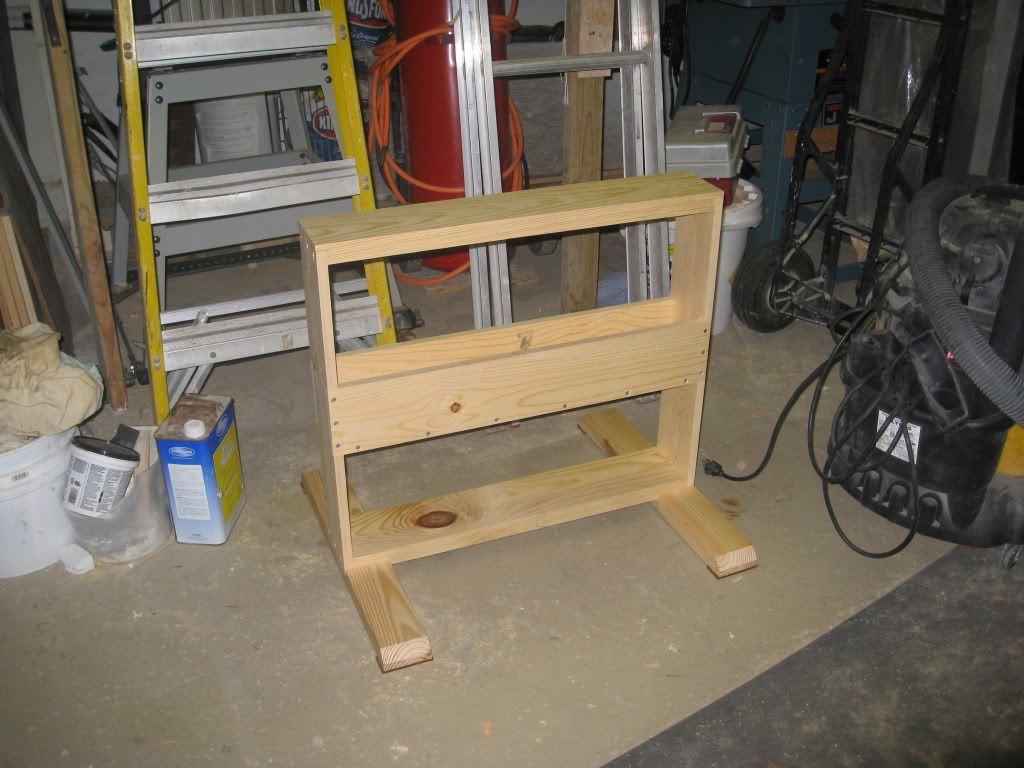
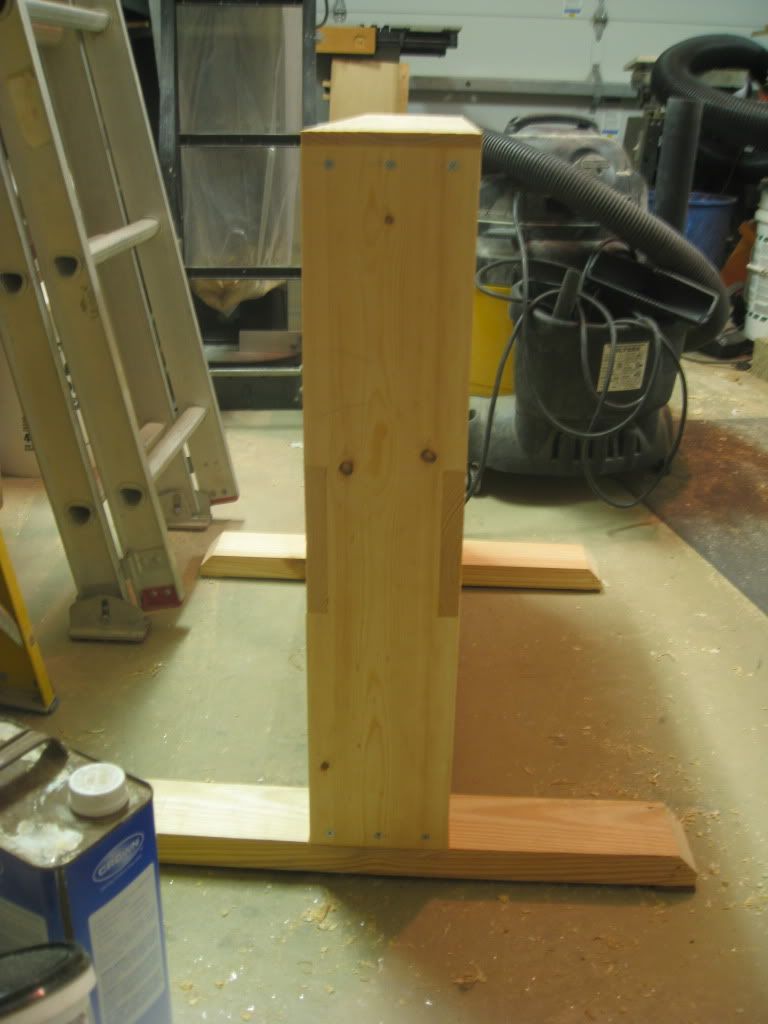
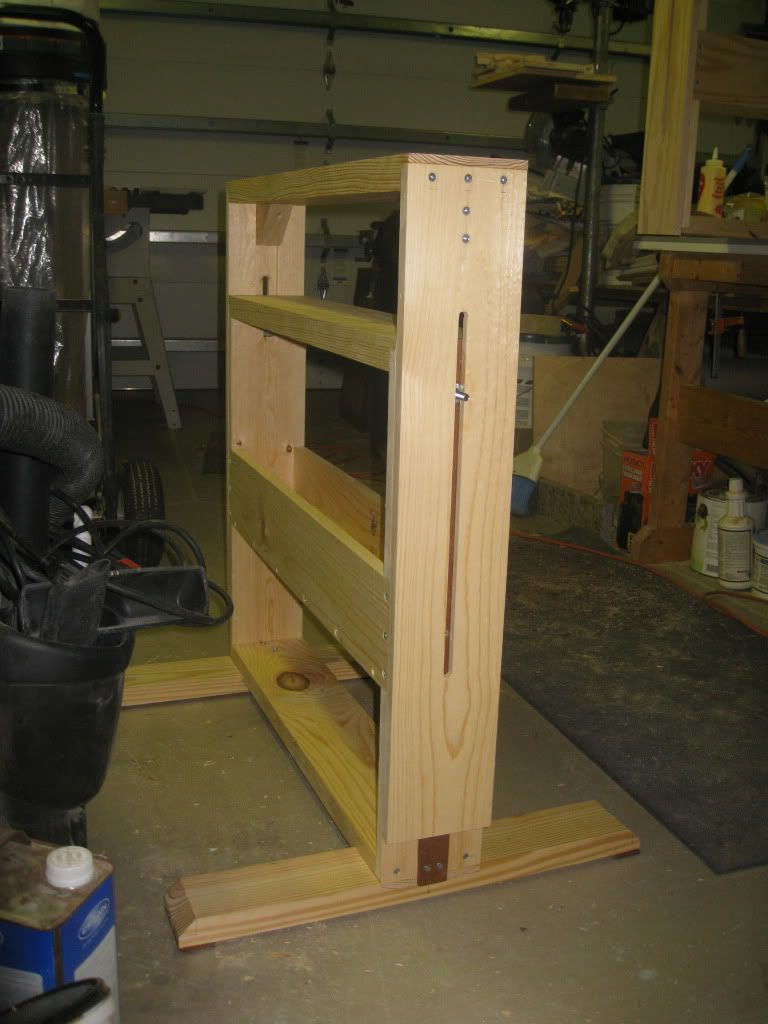
Well, they are not quite done, but at this point they qualify as sawhorses. I just need to make the adjustable portion and they will be fully constructed. They are made from SYP construction grade 2x and 1x pine from BORG/Lowes. I first cut the lumber to size on the scms, leaving about .75-1.25" extra length for later squaring and clean up. Next it was over to the jointer for some lessons in jointing ") followed by straight line ripping at the t.s., back to the jointer for truing of the face perpendicular to the sides and then to the planer to make opposite side parallel. The wood was left for a few days and when I returned I had to clean up a little bit from the movement. Started cutting the joinery (first joint was done neanderthal style, but considering that it would take me forever I went to the t.s. and got it done quick! Glue and screws were next and now waiting on another day off to complete.
followed by straight line ripping at the t.s., back to the jointer for truing of the face perpendicular to the sides and then to the planer to make opposite side parallel. The wood was left for a few days and when I returned I had to clean up a little bit from the movement. Started cutting the joinery (first joint was done neanderthal style, but considering that it would take me forever I went to the t.s. and got it done quick! Glue and screws were next and now waiting on another day off to complete.
followed by straight line ripping at the t.s., back to the jointer for truing of the face perpendicular to the sides and then to the planer to make opposite side parallel. The wood was left for a few days and when I returned I had to clean up a little bit from the movement. Started cutting the joinery (first joint was done neanderthal style, but considering that it would take me forever I went to the t.s. and got it done quick! Glue and screws were next and now waiting on another day off to complete.

 I know its not in the pic, but as soon as they are completely finished I will update with new photos.

 aiyou
aiyou

 LCHIEN
 Loring in Katy, TX USA
 [/IMG]
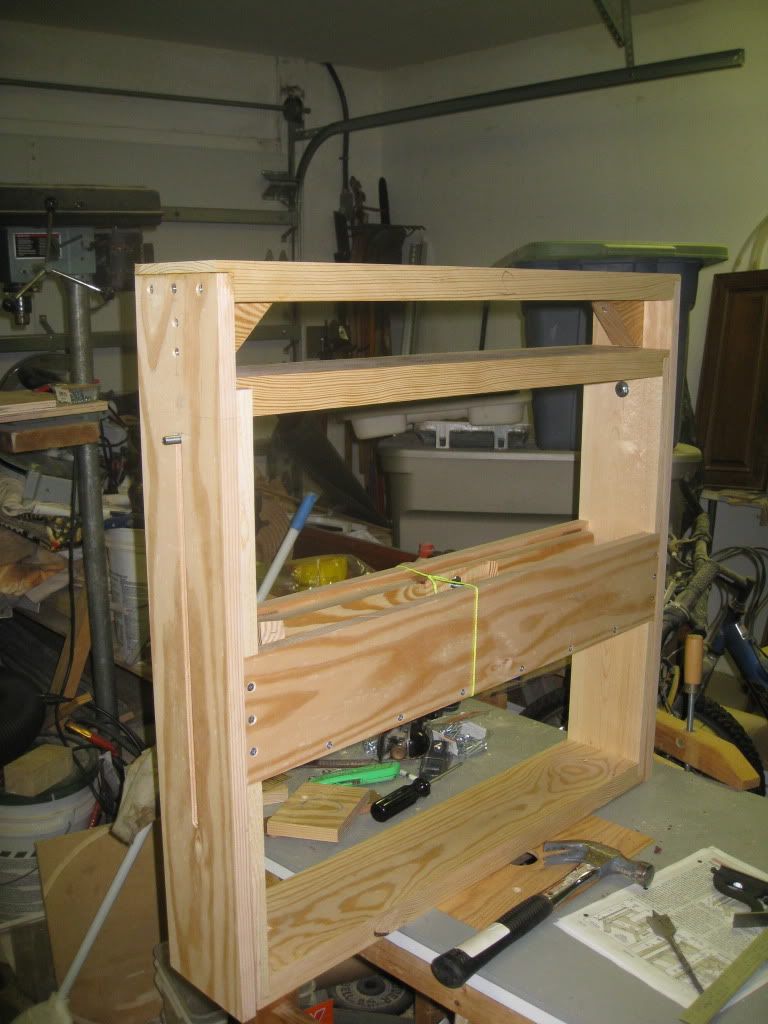 [/IMG]
Comment