
I have always wondered how these stars were made on some of the turnings I have seen. Well, I got it figured out today with a post I saw somewhere by Kevin Neeley. Pretty simple and makes me wish I spent more time learning in geometery class than looking at the large breasts in the chair next to me[ ]
]
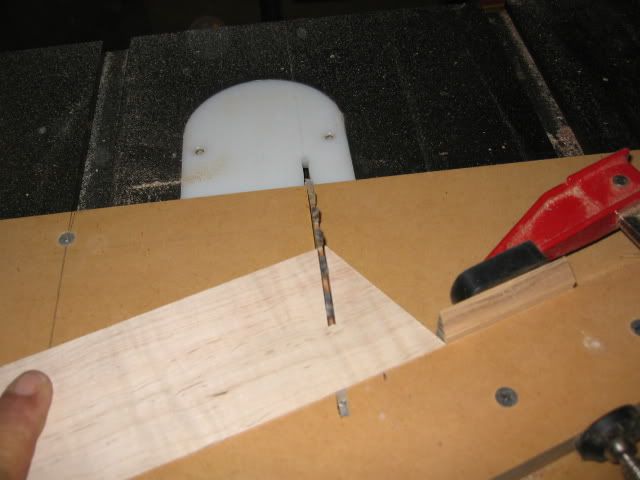
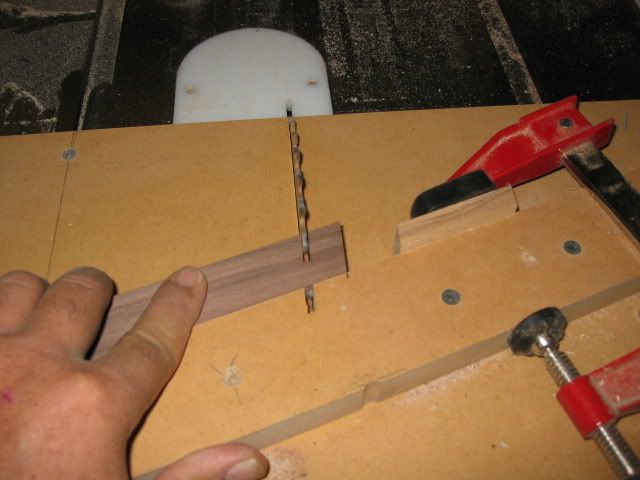
The first thing I did was build a sled for 10 segments. This sled fence is at 18 degrees and has to be as near perfect as possible because any touch up to the pieces will make the star a little screwy. I chose curly maple and walnut as my woods of choice. Your segment size will be determined on the size and shape of the turning you plan on putting it in. Here is a pic of cutting the 18 degree segments.
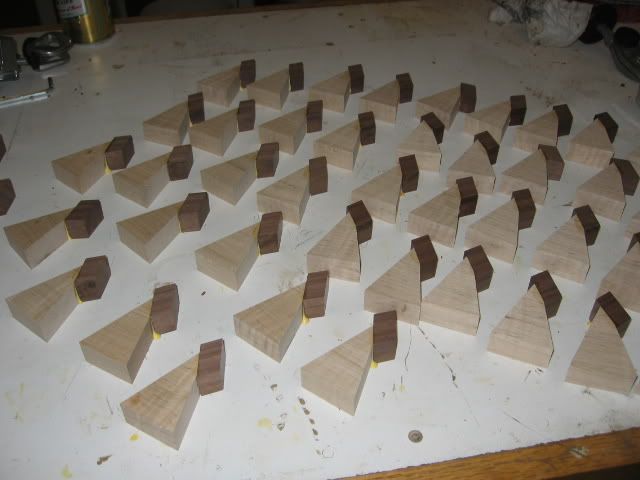
Since I plan on using these stars in the top of a bowl in 4 of the 8 segments I will need 4 stars. That means 40 18 degree pieces with a couple of spares in case I do something wrong somewhere. Spares are always nice to have. Trust me[ )]
)]
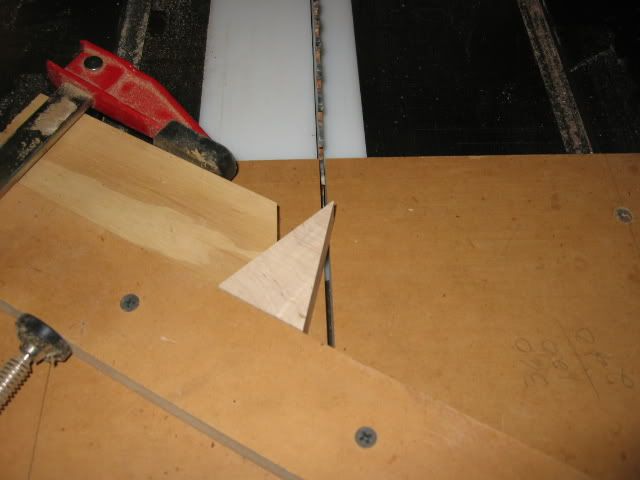
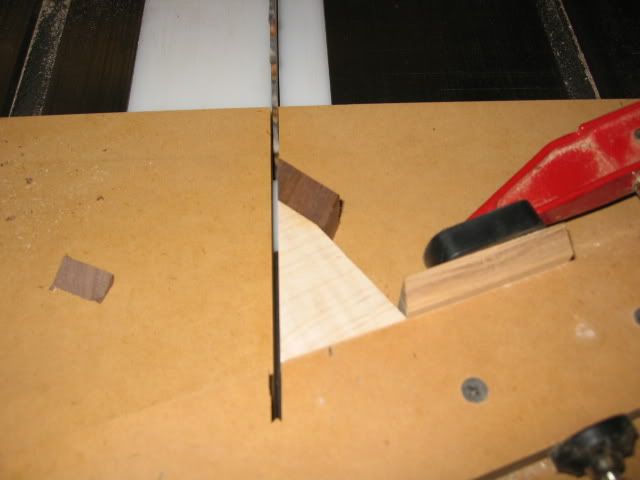
After cutting the segments do not disturb your stop block because you will need the exact same setting in a minute. Next I made another sled to trim the end of the point off. I did not use any particular angle just lined it up by eye. Here is the sled and segment getting trimmed.
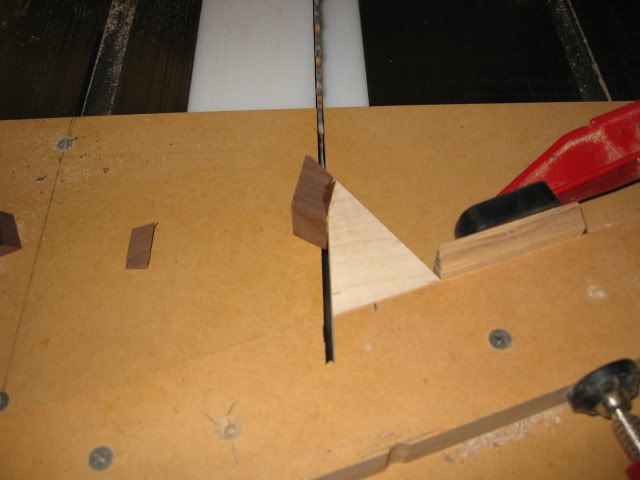
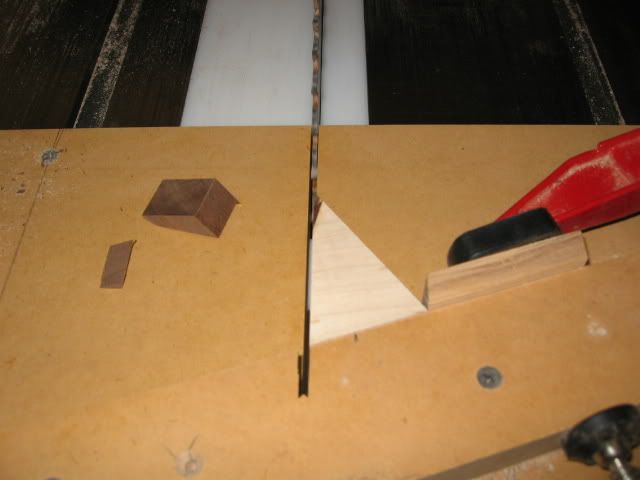
Next I used the same sled to cut the parts the will become the star itself. I used a 1" wide by 3/4" thick strip of walnut for this and sliced it into 1/2" long slices. I could have went smaller but I like to err on the long side. one important note. Make sure all of your wood is prepared to the same thickness. This is very important when doing the final trimming to the final pieces.
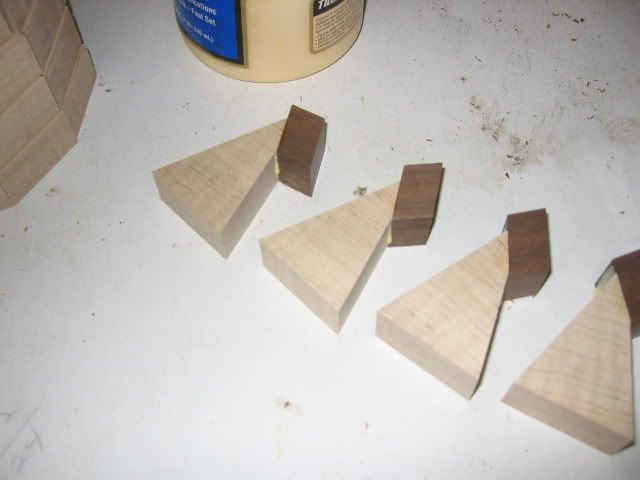
Next comes glueing the walnut to the maple. I used no clamps of any kind here. Just a dab of glue to the extra miter on the maple and rub it and the walnut together. I made sure the walnut would fill in where the original point on the maple was. I used my finger to wipe off any glue squeeze out from the top of the glue up and the glue up was flat on the table. You can use wax paper under these pieces but the melomine top of my work bench aslo works well.
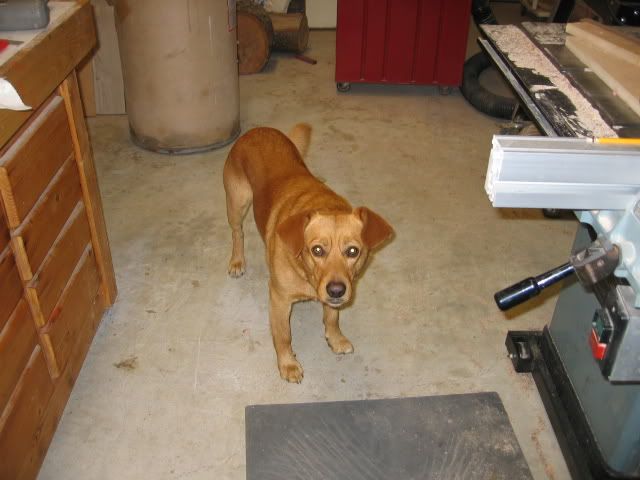
I had some scavangers in the shop with me so I was carefull not to drop any of the pieces for fear they would be chewed up
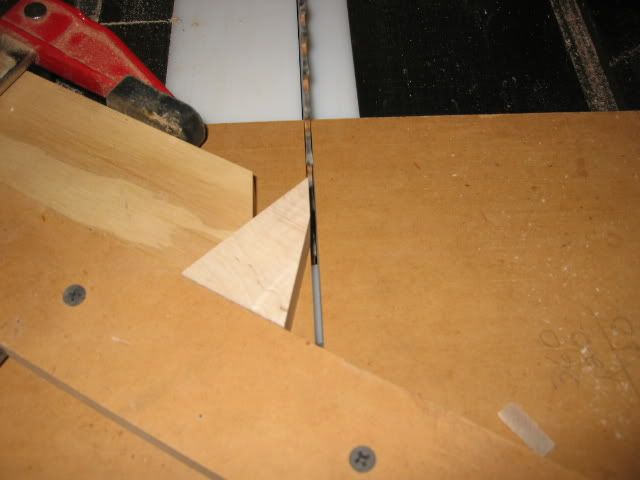
Now for the final trimming. I reinstalled the original 18 degree sled and lined the maple and walnut segment against the stop block. Now you see why it was not disturbed. Cut one side and flip and cut the other side.
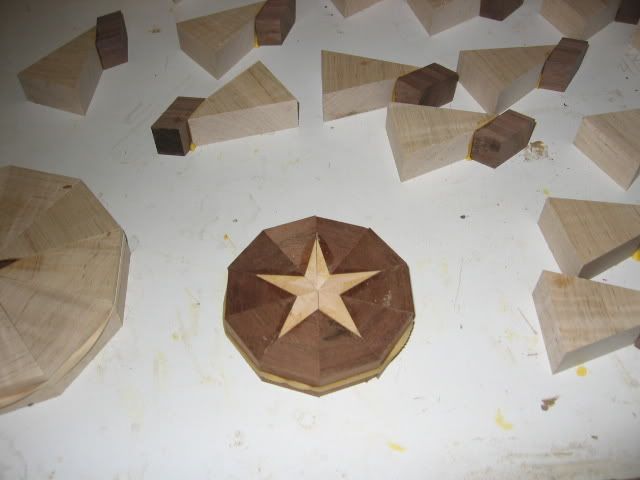
Here is a dry fit so you can see the result. I left a lot of maple so I would have plenty of room when I make each piece into the segments for my bowl.
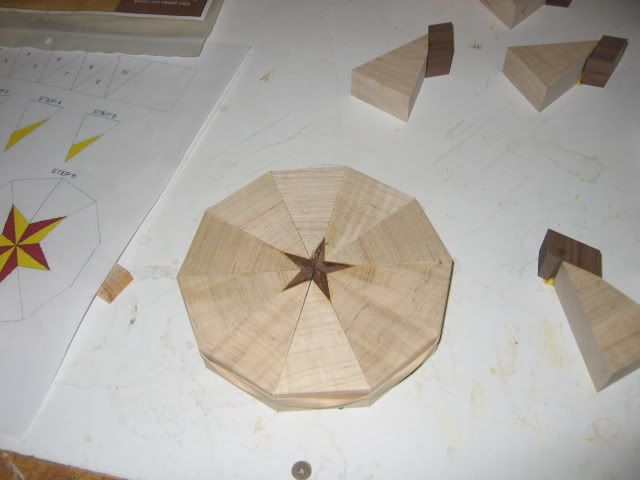
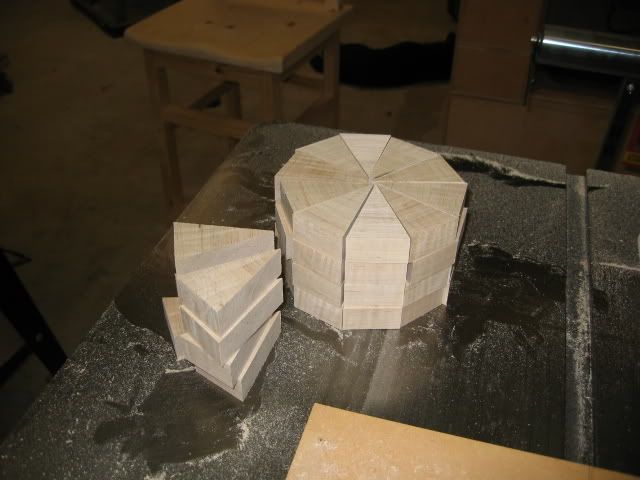
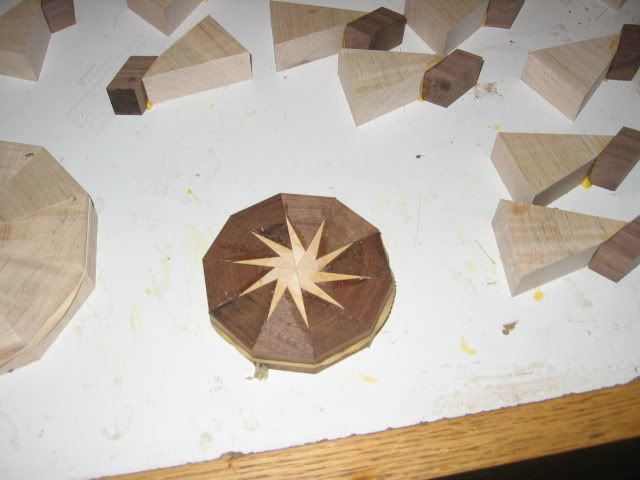
Here is the prototype I first made. This is where I decided I needed more meat surrounding the star. The pinwheel is the same pieces as the star except every other segment is flipped.
]The first thing I did was build a sled for 10 segments. This sled fence is at 18 degrees and has to be as near perfect as possible because any touch up to the pieces will make the star a little screwy. I chose curly maple and walnut as my woods of choice. Your segment size will be determined on the size and shape of the turning you plan on putting it in. Here is a pic of cutting the 18 degree segments.
Since I plan on using these stars in the top of a bowl in 4 of the 8 segments I will need 4 stars. That means 40 18 degree pieces with a couple of spares in case I do something wrong somewhere. Spares are always nice to have. Trust me[
)]After cutting the segments do not disturb your stop block because you will need the exact same setting in a minute. Next I made another sled to trim the end of the point off. I did not use any particular angle just lined it up by eye. Here is the sled and segment getting trimmed.
Next I used the same sled to cut the parts the will become the star itself. I used a 1" wide by 3/4" thick strip of walnut for this and sliced it into 1/2" long slices. I could have went smaller but I like to err on the long side. one important note. Make sure all of your wood is prepared to the same thickness. This is very important when doing the final trimming to the final pieces.
Next comes glueing the walnut to the maple. I used no clamps of any kind here. Just a dab of glue to the extra miter on the maple and rub it and the walnut together. I made sure the walnut would fill in where the original point on the maple was. I used my finger to wipe off any glue squeeze out from the top of the glue up and the glue up was flat on the table. You can use wax paper under these pieces but the melomine top of my work bench aslo works well.
I had some scavangers in the shop with me so I was carefull not to drop any of the pieces for fear they would be chewed up
Now for the final trimming. I reinstalled the original 18 degree sled and lined the maple and walnut segment against the stop block. Now you see why it was not disturbed. Cut one side and flip and cut the other side.
Here is a dry fit so you can see the result. I left a lot of maple so I would have plenty of room when I make each piece into the segments for my bowl.
Here is the prototype I first made. This is where I decided I needed more meat surrounding the star. The pinwheel is the same pieces as the star except every other segment is flipped.


Comment