Radial Arm Saw Table Dimensions

Collapse
This topic is closed.
X
X
 
  • Time
  • Show
Clear All
new posts
  • pmichener1
    Forum Newbie
    • Mar 2009
    • 6
    • Byesville, Ohio
    • BT3100

    Radial Arm Saw Table Dimensions

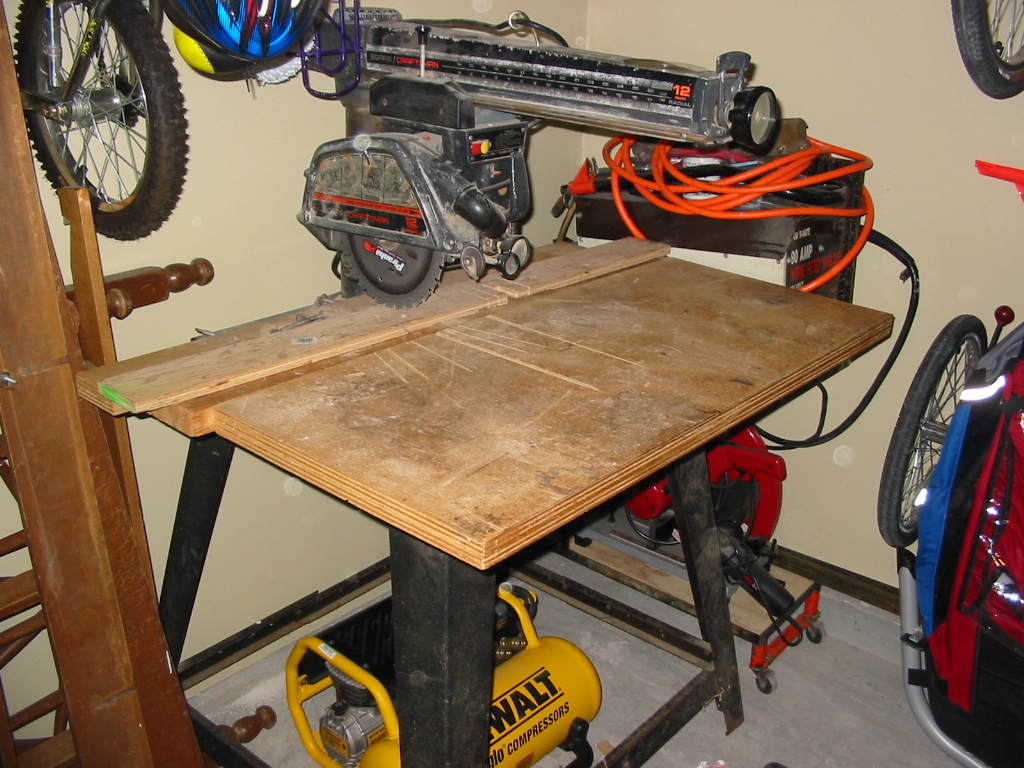
    I recently came across a Craftsman 10inch Radial Arm Saw in the trash at the curb. Owner said it did't work, but after a little cleaning I plugged it in and it works fine. All adjustments have been made, and major cleaning. Intend to use this for cross cutting for bookcases. Does anyone have the dimensions for the original table pieces? I have ordered the Emerson Retro kit, but would prefer to use original table dimensions to keep the maximum cross cut.

    P Michener
  • Ed62
    The Full Monte
    • Oct 2006
    • 6022
    • NW Indiana
    • BT3K

    #2
    Sorry, I can't help you with the size. But welcome to the site. That's quite a find for you! Congrats.

    Ed
    Do you know about kickback? Ray has a good writeup here... https://www.sawdustzone.org/articles...mare-explained

    For a kickback demonstration video http://www.metacafe.com/watch/910584...demonstration/

    Comment

    • sscherin
      Senior Member
      • Dec 2003
      • 772
      • Kennewick, WA, USA.

      #3
      I don't remember the exact dimensions but a few details and have a picture..

      I had the 12" model..
      The table was in 2 pieces..
      a 24x48" or so front half attached to the frame.. (bring it out to the end of the arm..
      the back half was a floater but I can't remember the depth.
      You want the fence just far enough forward so it won't trap the blade with the carriage fully returned. So measure the front table from the edge of the blade to the end of the arm then take off 1" (3/4" fence plus 1/4" extra)
      That should max it out without being a pain to work with.


      The clamping bolts along the back were used to clamp a sacrificial fence between the front and back table pieces.. They also tacked down a sheet of 1/8" hard board on the front table that could be changed out when it got to carved up.

      You might notice the Back table is in 2 pieces.. That was so I could move the fence back about 6" more inches for wider boards but it left the blade trapped in the fence..

      For really wide cuts I'd Cut as far as possible, flip it, mark the kerf out to the uncut edge and align it with the blade.. If you have a fresh hardboard top on the table the kerf cut in the table top makes a good alignment mark.

      Get a good Negative hook blade..
      NEVER rip with it.. They will grab and throw a piece so fast you won't know what happened..

      The table is so big it got used as a small work bench half the time

      Last edited by sscherin; 03-11-2009, 05:09 PM.
      William's Law--
      There is no mechanical problem so difficult that it
      cannot be solved by brute strength and ignorance.

      Comment

      • shoottx
        Veteran Member
        • May 2008
        • 1240
        • Plano, Texas
        • BT3000

        #4
        Last weekend I installed the retrofit kit on a Sears RAS given to me. The kit is great. I believe the new kit changes the width of cut by an inch or two. The new table comes with a 3 piece top. the first piece bolts down to the stand and is fixed in place. The remaining two pieces are adjusted behind what ever fence insert you decide to use. If you want to change the width of cut you can adapt these two pieces for what ever width will work with the new safety guards. Go ahead andinstall the kit and look at the capacity, it may be OK for your work. Mine still gives me a 12" width of cross cut.
        Often in error - Never in doubt

        Mike

        Comment

        • ironhat
          Veteran Member
          • Aug 2004
          • 2553
          • Chambersburg, PA (South-central).
          • Ridgid 3650 (can I still play here?)

          #5
          I have had Dad's for years now and only recently changed out the table. The operator edge of the table is about 4" beyond the maximum cut for this 9" blade. Keep this edge a little further out than the leading edge of the blade guard. I've not seen a set up like sscherin's. On mine the vertical board used for the fence is pinched between the small, rear table section and the large front table section. Oh well, maybe pics will be more clear than my feeble explanation.
          Attached Files
          Blessings,
          Chiz

          Comment

          • Uncle Cracker
            The Full Monte
            • May 2007
            • 7091
            • Sunshine State
            • BT3000

            #6
            I have a 10" Craftsman RAS, but I know the table dims have changed over the years. Not only that, but the tables are different sizes for the cabinet style vs. the ones with leg set. Further complicating things is that the revised guard setup that happened with the safety recall also changed the table dims (one of the rear sections behind the fence got deeper, while the main table got shallower). This is so the fence is brought more forward in the updated configuration. I have both the before and the after tables for the leg-style saw, and the dims for mine are:

            Prior to recall: Rear sections 40"w x 2-3/4"d and 40"w x 7"d, Front section 40"w x 17-1/4"d

            After recall: Rear sections 40"w x 4"d and 40"w x 7"d, Front section 40"w x 16"d

            In both configurations, the rear tables are simply clamped in place, and can be swapped rear-to-middle to fine-tune the fence position.

            The overall assembled table size remained constant after the recall at 40"w x 27"d (plus whatever thickness your fence material is).

            Hope that helps...

            Comment

            • pmichener1
              Forum Newbie
              • Mar 2009
              • 6
              • Byesville, Ohio
              • BT3100

              #7
              Thanks everyone.

              Thanks to all of you for your responses.

              I did a Google search, and found many varying sizes, but most were in the 40x19 size for the front table, and 40x7 and 40x2 for the rear spacers. Guess I'll go to work with these suggestions.

              Also saw a lot of post concerning shipping of the retrofit kits from Emerson. Does it really take 3-4 WEEKS??

              P Michener

              Comment

              • shoottx
                Veteran Member
                • May 2008
                • 1240
                • Plano, Texas
                • BT3000

                #8
                Originally posted by pmichener1

                Also saw a lot of post concerning shipping of the retrofit kits from Emerson. Does it really take 3-4 WEEKS??

                P Michener
                I ordered min on a Thursday and they arrived the following Tuesday. YMMV
                Often in error - Never in doubt

                Mike

                Comment

                • Uncle Cracker
                  The Full Monte
                  • May 2007
                  • 7091
                  • Sunshine State
                  • BT3000

                  #9
                  Mine showed up in 3 or 4 days. I remember being very surprised by that. If you get one, your table problems will go away, as you get a new table with the update kit.

                  Comment

                  • Rich P
                    Established Member
                    • Apr 2003
                    • 390
                    • Foresthill, CA, USA.
                    • Powermatic 66 (1966 vintage)

                    #10
                    Nice curbside find. I got my Craftsman 10" in the early 70's and it's still running fine. When I got 220 in the shop I switched the voltage but other than that it just runs.

                    I've replaced the table a few times so don't know big the original one was. If you have not already figured this out, you will need a set of adjusting screws built in to the table to level it. There is also a set sequence of aligning and squaring the blade to the table that should be followed. Hopefully you've got a manual which should cover this. I do have my original one so if your saw is from the same "era" as mine and you have a question PM me. The brackets that mount the table to the base of the saw are pretty flimsy (at least mine were) and it seemed like the table was always needing re-adjustment. I replaced them with some heavier angle iron and that helped a bunch.

                    IMHO, I can't see much point in the retro kit as ripping on a RAS is probably the most dangerous thing that can be done in a woodworking shop. That's one reason (among many) why table saws exist. The negative hook blade will help but even so on thick and hard woods there is still a tendency (at least on mine) to climb and stall when cross cutting if you don't carefully control the feed rate.

                    Enjoy your new gadget.
                    Don't ever ask a barber if you need a haircut.

                    Comment

                    • Uncle Cracker
                      The Full Monte
                      • May 2007
                      • 7091
                      • Sunshine State
                      • BT3000

                      #11
                      Originally posted by Rich P
                      IMHO, I can't see much point in the retro kit as ripping on a RAS is probably the most dangerous thing that can be done in a woodworking shop.
                      You are right about the ripping. I never do that. The reason I got the upgrade was the drop-down guard for either side of the blade. Much safer than the original design...

                      Comment

                      • Rich P
                        Established Member
                        • Apr 2003
                        • 390
                        • Foresthill, CA, USA.
                        • Powermatic 66 (1966 vintage)

                        #12
                        I guess my saw was too old...they didn't have a kit for it so my only option was to junk it, send in the motor and carriage and get the $100. It's worth more than that (to me), plus the hassle. I always approach the RAS with the UTMOST respect.
                        Don't ever ask a barber if you need a haircut.

                        Comment

                        • tjr
                          Established Member
                          • Oct 2008
                          • 167
                          • at the falls of the Ohio
                          • BT3000 (1 3/4 of them)

                          #13
                          For model 113.198111, my old table pieces were all 40" left-to-right. The front table was 17 1/4 wide, rear table 6 3/4, spacer 2 3/4. This is for a model with a 4 legged metal stand. The related models in the 113.198x11 series mounted on a cabinet were I think 44" left-to-right.

                          If you want a manual for your saw, you can either download one or the lady at the radial arm saw recall number will send you one. With the kit are instructions for leveling and squaring the new table.

                          Comment

                          • pmichener1
                            Forum Newbie
                            • Mar 2009
                            • 6
                            • Byesville, Ohio
                            • BT3100

                            #14
                            Thanks for the repsonses

                            Again everyone for the great responses. I've spent a couple of evenings cleaning corrosion and dust off of this thing, and it really looks quite good.

                            I have some experience trying to rip on these saws, so I don't intend to do much on this one. Have the trusty BT3100 for that. But this saw is really handy for cross cuts and cross dado cuts.

                            Again, thanks for the welcome to the community, and for the great response to my post.

                            P Michener

                            Comment

                            • ah_clem
                              Handtools only
                              • Jul 2021
                              • 1

                              #15
                              Thanks for the information on the table dimensions both pre and post retrofit.

                              Wondering, as the result of the retrofit was to move the fence outward by < an inch, what else was involved?

                              Does anyone know why this was done?

                              Was it just due to issues with ripping (something you can do but shouldn't )?

                              Thanks in advance for your time...

                              Comment

                              Working...