X-cut sled – Version 2

Collapse
This topic is closed.
X
X
 
  • Time
  • Show
Clear All
new posts
  • RodKirby
    Veteran Member
    • Dec 2002
    • 3136
    • Melbourne, Victoria, Australia.
    • Mao Shan TSC-10RAS

    #1

    X-cut sled – Version 2

    The old Version 1. My first attempt at a x-cut sled. Worked perfectly but wasn’t high enough or deep enough


    The new Version 2. Unashamedly based on Woohaven’s 4951/4953 design. Although the WH one would have been perfect, the shipping cost was off-the-wall – and I like making this sort of stuff. The miter bar, UltraTrack and flip stops I bought from WH, the rest is mine – I was able to get the ¾” phenolic joiners made locally. I was also able to download the 4951 assembly instructions so I could to take advantage of their clever design.

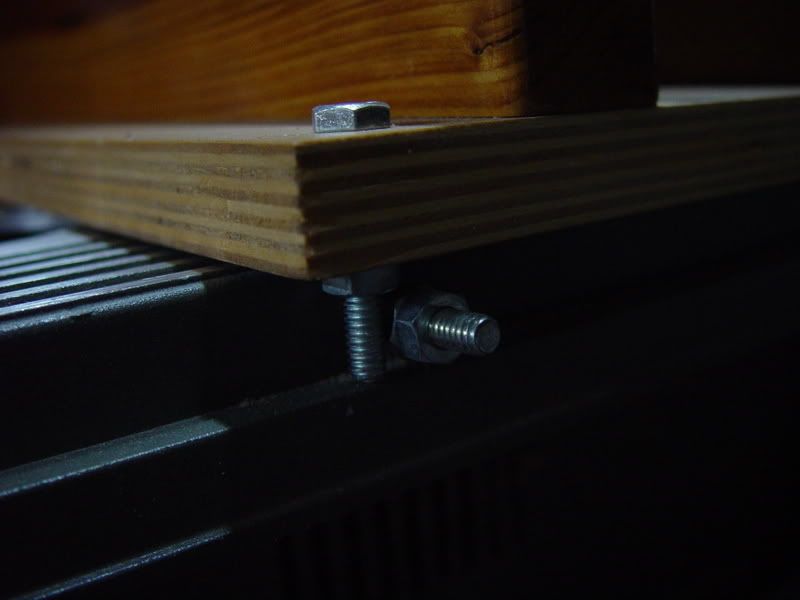
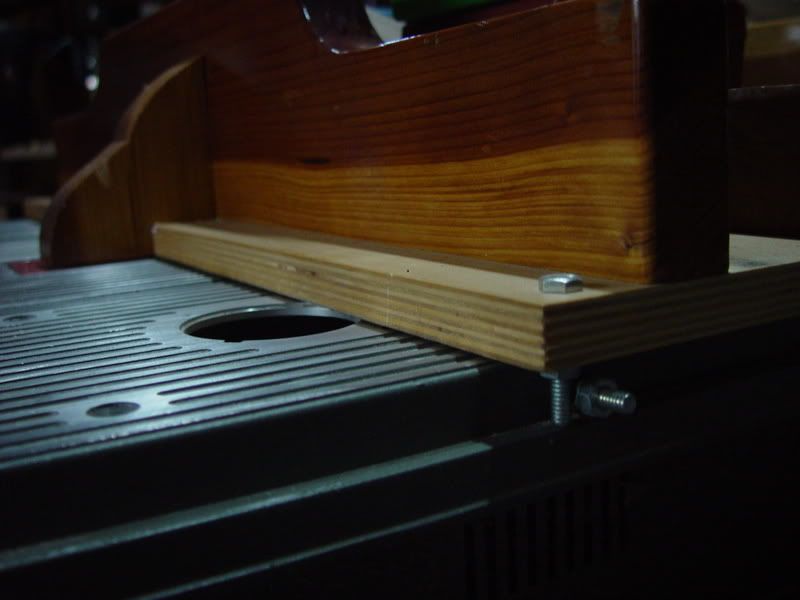
    The sled is constructed in 2 halves, rather than one piece and then cut up the middle. Both left and right halves have 1/8” deep dados that the UltraTrack is bolted into – makes for easy alignment.

    Left half with the miter bar first, and cut after being put together. Then the right half “joined” to the left. Because there is a lot of weight in the 18mm (nearly ¾”) MDF, doing it in 2 steps makes it very manageable.

    Notes:
    • Bases 18mm MDF, hardwood edge trimmed. Water-based poly finish – single coat which lifts the surface to provide a slightly non-slippery surface.
    • Brass knobs to help me lift it all (heavy!).
    • Marine ply fence faces – again: single coat poly to give a little grip.
    • ½” polycarbonate guard – lets me see easily to align with a pencil mark or steel rule. And of course, helps tie it all together.
    • 6 x ¾” UHMW self-adhesive strips on the bottom, to make it easier to slide my “unfinished” MDF.
    • My hold-downs – way over engineered but they work! I couldn’t buy any smaller ones in Oz. (See post #18 below).
    • The saw blade “exit” cover is off the Version 1.
    • My RC caddy was all cut on the new sled. (Note: "1" buttons are the only active ones).
    In use:
    • Lets me now have the saw blade at maximum height – 2-1/2” cutting depth.
    • Cuts up to 18” deep.
    • I love it


    Last edited by RodKirby; 12-06-2008, 03:26 PM.
    Downunder ... 1" = 25.4mm
  • gwyneth
    Veteran Member
    • Nov 2006
    • 1134
    • Bayfield Co., WI

    #2
    Gosh, that's beautiful, Rod. How do you like the WH miter bar?

    Comment

    • cgallery
      Veteran Member
      • Sep 2004
      • 4503
      • Milwaukee, WI
      • BT3K

      #3
      Very nice. I like the cradle for the remote and hot you always have the blade with label for the photos.

      Comment

      • RodKirby
        Veteran Member
        • Dec 2002
        • 3136
        • Melbourne, Victoria, Australia.
        • Mao Shan TSC-10RAS

        #4
        Originally posted by gwyneth
        Gosh, that's beautiful, Rod. How do you like the WH miter bar?
        As always with WH products - great quality, great engineering. The sideways adjusting screws let you set it to slide perfectly
        Downunder ... 1" = 25.4mm

        Comment

        • atgcpaul
          Veteran Member
          • Aug 2003
          • 4055
          • Maryland
          • Grizzly 1023SLX

          #5
          Originally posted by cgallery
          ...you always have the blade with label for the photos.
          I was about to comment on the same thing. That's a pretty cool sled. I like
          how you used a dado to hold your Track which then slides in your miter slots.
          Did you have to do any adjusting to get your fence perpendicular to the blade?


          Paul

          Comment

          • Uncle Cracker
            The Full Monte
            • May 2007
            • 7091
            • Sunshine State
            • BT3000

            #6
            Rod, are you sure that ten hex bolts are enough to hold your laminate bridges to the aluminum extrusions???

            Seriously, that is a beautiful rig. You are an artist.

            Comment

            • JR
              The Full Monte
              • Feb 2004
              • 5633
              • Eugene, OR
              • BT3000

              #7
              Very nice, Rod. Inspirational.

              There are slots located ~8" to each side of the blade. What function do they serve?

              JR
              JR

              Comment

              • gad5264
                Veteran Member
                • Aug 2005
                • 1407
                • Columbus, Ohio, USA
                • BT3000/BT3100NIB

                #8
                SWEEEEEEET, but we expect nothing less from you Rod. I am envious.
                Grant
                "GO Buckeyes"

                My projects: http://community.webshots.com/user/gad5264

                Comment

                • Greg in Maryland
                  Established Member
                  • Nov 2006
                  • 250
                  • Montgomery Village, Maryland
                  • BT3100

                  #9
                  Can I have your old sled?

                  Greg

                  Comment

                  • LarryG
                    The Full Monte
                    • May 2004
                    • 6693
                    • Off The Back
                    • Powermatic PM2000, BT3100-1

                    #10
                    Stunningly beautiful work as usual, Rod.

                    Two questions -- one technical, one not:

                    1. What keeps you from cutting through the backside of the exit shroud -- is it just that you stop pushing before this happens? (Not criticizing your design, if that's show it works ... am wondering whether there's some sort of stop that I'm not seeing.)

                    2. How many hours does it take you to build something like this, start to finish?
                    Larry

                    Comment

                    • ssmith1627
                      Senior Member
                      • Dec 2005
                      • 704
                      • Corryton, TN, USA.
                      • Ryobi BT3100

                      #11
                      I'd be curious to know about a stop as well. I have only now started trying to build a crosscut sled so I have never tried to put in a stop. But it sounds like a good idea -- placed somehow to stop the sled's forward travel once the fence was just beyond the blade's highest point ? With that blade guard mounted to the rear of the fence and the plexi/lexan piece mounted over top of the blade in front of the fence, there wouldn't be too much chance of bringing fingers and hands in contact with the blade.

                      Is a patent pending or are we free to copy this sucker ? (to the best of our abilities, that is....lol)

                      Steve

                      Comment

                      • RodKirby
                        Veteran Member
                        • Dec 2002
                        • 3136
                        • Melbourne, Victoria, Australia.
                        • Mao Shan TSC-10RAS

                        #12
                        Paul: Fences are "automatically" perpendicular to the blade - bolted to the base. If you mean "at right angles to the blade"; I had about 1/16" "swing" to give me some "wriggle room". Together with VERY carefully aligned miter bar and dado aligning/cutting, I got it spot-on first time. Sometimes it happens!

                        Uncle Cracker: Each side weighs about 15 lbs - and an awful lot of leverage at the edges. The joiners are the only things (almost) holding the sides apart. As well, the sled will be lifted on/off the TS often. Maybe over-kill, but 10 bolts lets me sleep OK

                        JR: The slots are for hold-downs for wide work pieces - pics coming...

                        Greg: Sorry - dismantled. Parts to be recycled - like the "exit" cover.

                        Larry: 1. I have a mark on the ZCTP to show me when to stop. And I can hear when the saw completes the cut. There is no elegant way (trust me), to have a travel stop - the sled is too deep.
                        2. About 16 hours. IMHO - With a sled , alignment is everything. I don't work fast, but I'm VERY careful
                        Last edited by RodKirby; 08-07-2007, 02:34 PM.
                        Downunder ... 1" = 25.4mm

                        Comment

                        • RodKirby
                          Veteran Member
                          • Dec 2002
                          • 3136
                          • Melbourne, Victoria, Australia.
                          • Mao Shan TSC-10RAS

                          #13
                          Originally posted by ssmith1627
                          I'd be curious to know about a stop as well. I have only now started trying to build a crosscut sled so I have never tried to put in a stop. But it sounds like a good idea -- placed somehow to stop the sled's forward travel once the fence was just beyond the blade's highest point ? With that blade guard mounted to the rear of the fence and the plexi/lexan piece mounted over top of the blade in front of the fence, there wouldn't be too much chance of bringing fingers and hands in contact with the blade.

                          Is a patent pending or are we free to copy this sucker ? (to the best of our abilities, that is....lol)

                          Steve
                          See my response above. And...

                          I probably spent more time thinking about a travel stop than anything else - to no avail. Any solution was very cumbersome. But - as I said; in use, you can hear when the cut completes - even with ear-muffs.

                          If there is a patent - Woodhaven has it
                          Downunder ... 1" = 25.4mm

                          Comment

                          • crokett
                            The Full Monte
                            • Jan 2003
                            • 10627
                            • Mebane, NC, USA.
                            • Ryobi BT3000

                            #14
                            Beautiful work Rod but I think 10 bolts is overkill too. 9 would do just fine.
                            David

                            The chief cause of failure in this life is giving up what you want most for what you want at the moment.

                            Comment

                            • scmhogg
                              Veteran Member
                              • Jan 2003
                              • 1839
                              • Simi Valley, CA, USA.
                              • BT3000

                              #15
                              Not to hijack Rod's thread... But, here is my simple solution to a sled stop on the BT3000.

                              I drilled a hole in the accessory table for a small bolt and locking nuts. I positioned the sled so that the maximum blade height was at the face of the fence and drilled a matching hole in the corner of the sled. Works great.


                              Steve
                              I would never die for my beliefs because I might be wrong. Bertrand Russell

                              Comment

                              Working...