

I've made a little progress from 2 nights ago:
http://www.bt3central.com/showthread.php?t=50118
Tonight, I started by trimming the bottom end (feet) of the sides square to the
sides using my panel sled. I also trimmed the top and bottom panels to
finished length.

Then I tacked on some strips of 1/4" hardboard so I'd have a smooth surface
to run against my fence when I cut the dadoes.

I laid out the locations of the 3/8" wide dadoes on my full size hardboard
template. This let me use the template to set the location of the fence for
each dado. I set the depth of cut to 1/4" and cut the 5 dadoes in each side
panel. I also ran a dado down the middle of the top and bottom panel.
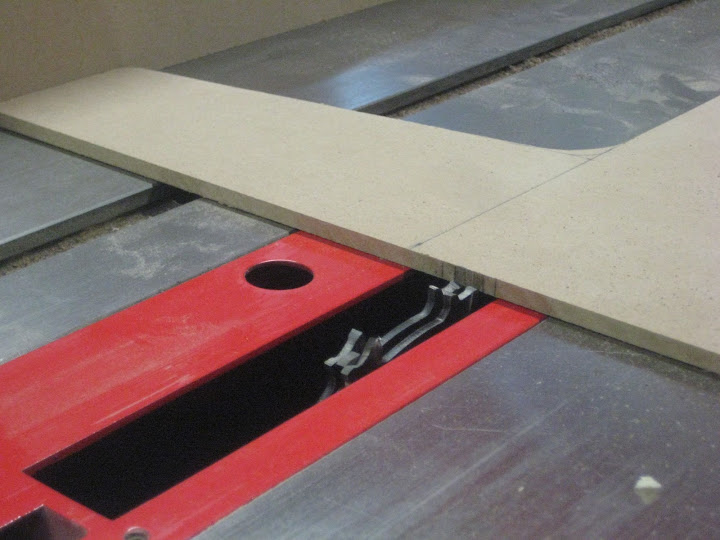
The two side panels on top of each other. Dadoes line up perfectly. Yippee!

I didn't snap a picture of the next step but using the same dado set and a
sacrificial fence, I formed tongues on the ends of my top and bottom panels.
3/8" wide tongues by 1/4" long. This, by far, was the most nerve racking
part of the process. I didn't want the joint to be sloppy but I didn't have
any scrap wood that was the exact thickness as my stock. I had something
that was pretty close and I snuck up to the final fit. Phew! Spot on.
And finally for the night, I was able to do a dry fit. That thing is a beast!

Tomorrow night, I plan on cutting the divider to finished length, cutting
tongues onto the end and then cutting dadoes in the divider to accept the
future drawer dividers.
Right now, I've purposely left everything over-width. I knew I'd get some
blow out while cutting the dadoes--I didn't use a backer board. Once the
divider is cut, I'll rip all the panels to final width.
Paul
http://www.bt3central.com/showthread.php?t=50118
Tonight, I started by trimming the bottom end (feet) of the sides square to the
sides using my panel sled. I also trimmed the top and bottom panels to
finished length.
Then I tacked on some strips of 1/4" hardboard so I'd have a smooth surface
to run against my fence when I cut the dadoes.
I laid out the locations of the 3/8" wide dadoes on my full size hardboard
template. This let me use the template to set the location of the fence for
each dado. I set the depth of cut to 1/4" and cut the 5 dadoes in each side
panel. I also ran a dado down the middle of the top and bottom panel.
The two side panels on top of each other. Dadoes line up perfectly. Yippee!
I didn't snap a picture of the next step but using the same dado set and a
sacrificial fence, I formed tongues on the ends of my top and bottom panels.
3/8" wide tongues by 1/4" long. This, by far, was the most nerve racking
part of the process. I didn't want the joint to be sloppy but I didn't have
any scrap wood that was the exact thickness as my stock. I had something
that was pretty close and I snuck up to the final fit. Phew! Spot on.
And finally for the night, I was able to do a dry fit. That thing is a beast!
Tomorrow night, I plan on cutting the divider to finished length, cutting
tongues onto the end and then cutting dadoes in the divider to accept the
future drawer dividers.
Right now, I've purposely left everything over-width. I knew I'd get some
blow out while cutting the dadoes--I didn't use a backer board. Once the
divider is cut, I'll rip all the panels to final width.
Paul

 Will you will be blending the sapwood to look more like heartwood with dye or stain?


Comment