
well here is my first project that i started and completed in the last year........i got distracted from wwing. before i could begin again, i had to clean up the garage and get myself organized.
so i thought of making a hybrid lumber cart that big tim had made, one that would store wood and would have a fold up & out panel saw. it was going to take up much more space than i wanted to right now. so i though that i could incorporate what loring had done and make a wall rack instead.
so here is what i did:
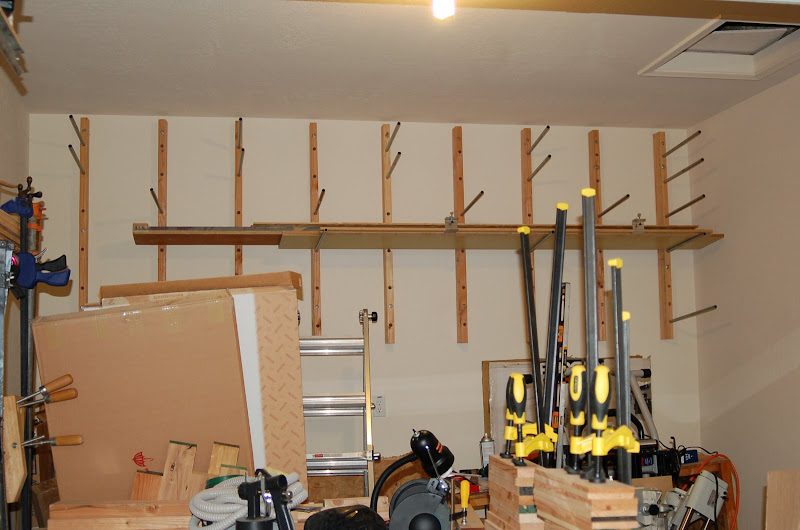
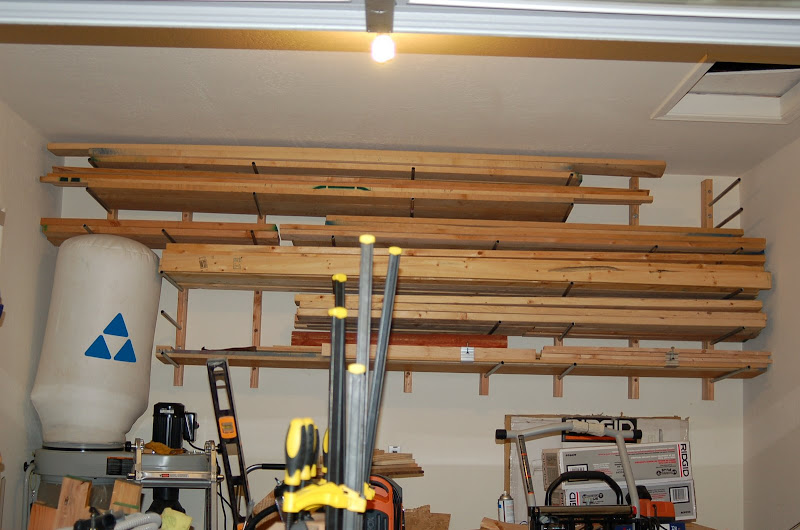
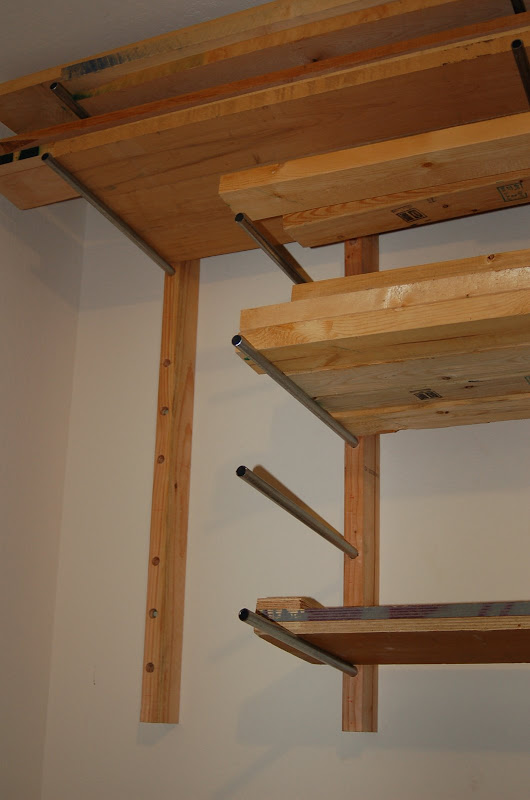
these are 2x4s cut to 48" long. i had at first bored holes with a 11/16" spade bit for the 1/2" thin wall EMT tubing. after trying to put one in, i then ended up doing what loring had suggested with a 3/4" spade bit. the top to shelves are 6" apart and then the next four shelves below are 8" apart. the EMT tubes were cut to 20" long with a 5.5" long 5/8" dowel set 1" from the end of the tubes with gorilla glue. these tubes were embeded 3" into the 2x4. the 2x4s were fastened to the wall using (4) 5/16" diameter x 5" long lag bolts into the edge of the 2x4 in a 5/8" recess. the 2x4s are spaced at 16" oc. this allows me to put the EMT tubing 32" oc and am able to use different hole combinations to give me a different weight distributing on the 2x4s. my worst case loading was figured to be 360lbs (if fully filled, not as shown in the pictures below). each lag bolt is good for 175lb in shear parallel to grain.
i used the drill press at work to make first set of holes. the 2nd time around, using the trimmed 3/4" spade bit, i bored the holes out free hand. just a note to those who may attempt this, DONT. drill the hole the first time around correctly with a ever so slightly narrowed 3/4" spade bit as loring described in his thread. otherwise you will end up with holes that are oblong since a spade bit isnt the right bit for reboring a hole larger than before free hand. lesson learned.
without any further ado, so here are the pics:
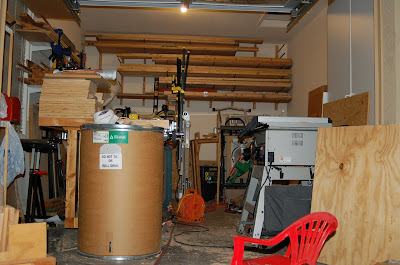
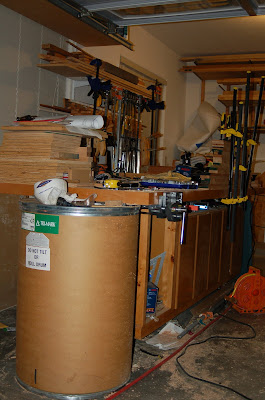
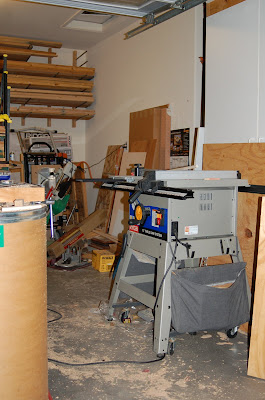
here are some pictures of the shop that will prove to you that i need to organize and clean up before any ww can be done:
so i thought of making a hybrid lumber cart that big tim had made, one that would store wood and would have a fold up & out panel saw. it was going to take up much more space than i wanted to right now. so i though that i could incorporate what loring had done and make a wall rack instead.
so here is what i did:
these are 2x4s cut to 48" long. i had at first bored holes with a 11/16" spade bit for the 1/2" thin wall EMT tubing. after trying to put one in, i then ended up doing what loring had suggested with a 3/4" spade bit. the top to shelves are 6" apart and then the next four shelves below are 8" apart. the EMT tubes were cut to 20" long with a 5.5" long 5/8" dowel set 1" from the end of the tubes with gorilla glue. these tubes were embeded 3" into the 2x4. the 2x4s were fastened to the wall using (4) 5/16" diameter x 5" long lag bolts into the edge of the 2x4 in a 5/8" recess. the 2x4s are spaced at 16" oc. this allows me to put the EMT tubing 32" oc and am able to use different hole combinations to give me a different weight distributing on the 2x4s. my worst case loading was figured to be 360lbs (if fully filled, not as shown in the pictures below). each lag bolt is good for 175lb in shear parallel to grain.
i used the drill press at work to make first set of holes. the 2nd time around, using the trimmed 3/4" spade bit, i bored the holes out free hand. just a note to those who may attempt this, DONT. drill the hole the first time around correctly with a ever so slightly narrowed 3/4" spade bit as loring described in his thread. otherwise you will end up with holes that are oblong since a spade bit isnt the right bit for reboring a hole larger than before free hand.
lesson learned.without any further ado, so here are the pics:
here are some pictures of the shop that will prove to you that i need to organize and clean up before any ww can be done:


Comment